
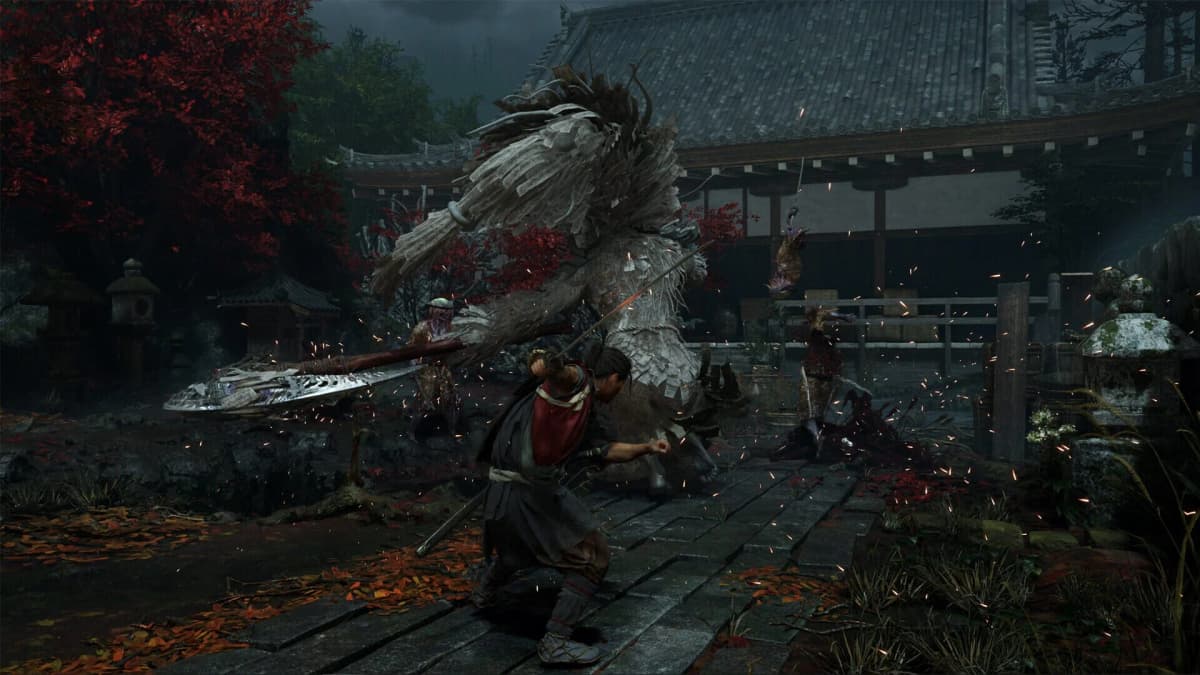
To beat Rasho-Gan in Onimusha: Way of the Sword, sever his red shrine tether with the Oni Bow, stay at controlled mid-range, parry his ordinary blade strings to empty his stamina bar, and Reflex Dodge every purple attack. When his stamina breaks, trigger Break Issen immediately, then repeat the loop through both health bars. The name players use is Rasho-Gan, not “Rashugan.”
Rasho-Gan is the multi-armed Genma known as the Wish Warper, and he is the third boss of the main progression. He ends the Careful What You Wish For quest and acts as an early combat check because raw attacking does very little compared with disciplined defense. His standard attacks are valuable opportunities to drain stamina; his purple attacks are the moves that end runs when you try to force a parry.
Table of Contents (13)
Prepare the arena: break Rasho-Gan’s red tether first
At the start of the fight, Rasho-Gan is connected to the shrine idol by a red cord. Leave it active and he can maintain pressure with stronger powered states and better stamina recovery, turning an already long two-bar fight into a grind.
Swap to the Oni Bow, charge a shot until it flashes, and fire at the red cord. This is the safest way to sever it. You can also pull Rasho-Gan away from the idol and cut the tether with your sword, but that asks you to manage his multi-arm attacks at the same time. The bow shot removes the problem before the boss has room to start a full string.
Your opening few seconds should be simple. Lock in, break the tether immediately, then return to guard instead of sprinting at him for free damage. The safe version of this fight starts by removing his buff and forcing him to come to you on your terms.
After the tether is gone, avoid either extreme of positioning. Standing against the wall makes the purple grab and ground slam much harder to evade. Backing away across the whole shrine gives Rasho-Gan room to throw projectiles and makes his blade timings harder to read. Hold a mid-range position: close enough that his sword strings reach you cleanly, with enough open floor behind or beside Musashi for a Reflex Dodge. In practice, that means standing just outside his immediate melee range, letting the combo begin, and only stepping in after the parry sequence ends.
The winning loop: parry stamina down, then take Break Issen
Rasho-Gan has two health bars, but his visible stamina bar is the real target. Hold guard while you watch his arms, then use timed parries or deflects against standard attacks as they connect. A deflect keeps you safe; a clean parry takes more control of the exchange. Every correct parry cuts into his stamina and often leaves a short recovery window for safe sword damage.
Do not treat every opening as a chance for a full combo. After stunning him with a parried three-hit string, take three safe hits and reset. A greedy fourth swing is where his next attack, grab, or counter catches you. Rasho-Gan is designed to punish players who keep pressing offense after the actual opening ends. If he snaps into a quick retaliation after a parry, keep defending instead of insisting on a punish that is no longer there.
When the stamina bar empties, the Break Issen prompt appears. Trigger it immediately. Break Issen is the boss version of the game’s high-damage cash-in mechanic: it will not instantly kill him, but it does major work and can also be used for extra soul gains. During these openings, prioritize his back limbs and ranged-casting arms when you can reach them; trimming those options makes the later phase far less cluttered.
- Use normal sword strings and non-purple projectiles to drain his stamina through parries.
- Use Break Issen for damage when the fight is getting dangerous or when you need to shorten phase two.
- Take bonus souls only when you are comfortable repeating the boss’s attack loop for longer.
- Absorb loose souls before Rasho-Gan does. If souls spill out after a stagger or Break Issen, collect them during your reset instead of leaving them in the arena while you back away.
The soul rule matters more than it sounds. Do not sprint blindly through his front arc for a single pickup, but do vacuum up loose souls when you have just created space with a dodge, a parry string, or a Break Issen ender. Letting them linger gives him resources and makes an already messy phase even less manageable.
Rasho-Gan attack guide: what to parry and what to dodge
The visual rule is simple. Standard, uncoloured attacks are generally blockable and parryable. Purple energy means the attack is unblockable: use a Reflex Dodge, the game’s timed evasive answer, instead of trying to test your guard. His delayed timings are intentional, especially on the final hit of his basic combo, so this is a fight where patience looks a lot stronger than confidence.
Respect the delayed third blade hit
The three-hit blade combo is the safest stamina-drain tool in the Rasho-Gan boss guide, but only if you wait for the third hit rather than pressing parry at the same rhythm as the first two. The first and second swings arrive quickly. The third hangs for a beat longer, which causes early parries and leaves Musashi open. Keep your guard up through the pause, then parry when the blade actually starts forward.

Stand far enough out that you can see the full arm motion, not just the weapon flash. Parry the first two hits on reaction, then deliberately slow down for the last one. If you land all three, you get a brief stun and up to three safe sword strikes. Do not chase a fourth attack, and do not assume the opening stays open just because the combo looked clean.
If you miss the first parry, do not panic-roll through the rest of the chain. Continue guarding, look for the delayed final swing, and recover the sequence there. One clean late parry is much safer than turning a manageable string into a purple attack read at point-blank range.
Stab strings and blade barrage punish impatient hands
Rasho-Gan also mixes in stab patterns that can arrive as a single stab or a triple stab. The safest read is to keep guard up after the first thrust instead of assuming the sequence is over. There is a small break before the later hits, especially between the second and third stab, and that pause is where a lot of players press too early. If the early stabs slip past your timing, you can still recover on the later one rather than giving up the whole exchange.
His cross slash and blade barrage follow the same general rule: the opener is worth parrying if you see it clearly, but once the barrage starts you do not want to stand there and pretend you can win a bad rhythm contest. If that flurry gets going, stop it with a Heavy Attack instead of trying to eat the whole thing on defense.
Never parry the purple slam or purple grab
Rasho-Gan’s ground slam is one of the clearest punish checks in the fight. When his arms rise overhead and the purple cue appears, dodge laterally or backward as they descend. The important timing note is to dodge on the drop, not on the wind-up. The slam has enough delay to catch an early panic dodge, which is exactly why trying to parry it feels tempting and usually ends badly.
The grab deserves even more caution because it removes a large section of health, then carries into repeated punches and a throw into the arena wall. Watch for the reaching arm and the short tracking step before the lunge. Dodge at the commitment point, not when he first starts moving. Dodging too early lets the tracking catch Musashi at the end of the roll, and trying to parry it is simply the wrong answer.
If you want one memory shortcut for the whole fight, make it this: overhead raise equals dodge. When he lifts both arms or brings the weapon up high with purple energy, stop thinking about parry timing and get ready to move.
Projectiles are either free stamina or a problem you must delete
Rasho-Gan’s ranged pressure is annoying, but it is not all equal. Many non-purple projectiles can be parried or deflected, which turns them from chip threats into stamina damage on the boss. If you have the spacing to see them come out cleanly, use them as part of the same defensive loop you use on his sword strings.
Large blood-like projectiles are different. If he sends a big incoming blob, destroy it before it reaches you, then return to guard immediately because he can follow behind it. The safe response is not “shoot once and admire the result.” It is “shoot, clear the threat, and be ready for the charge that may come right after.”
Phase-two spin and lifted scenery are bow checks, not ego checks
His phase-two spinning rush is technically possible to parry, but dodging is the reliable answer. He can rip through the arena, then come back from a bad angle, and the return pass is what catches players who thought the first dodge solved the whole move. Evade the first rush, turn the camera back onto him, and keep tracking until the full sequence ends.
When red tendrils reach toward trees, rubble, or shrine objects, answer with the Oni Bow immediately. Shoot the connecting tether above him as soon as the scenery lifts, before he releases the throw. Breaking that connection drops the object onto Rasho-Gan for heavy damage and removes one of the nastier momentum swings in phase two. Do not wait to see whether he commits. The lift itself is your cue.
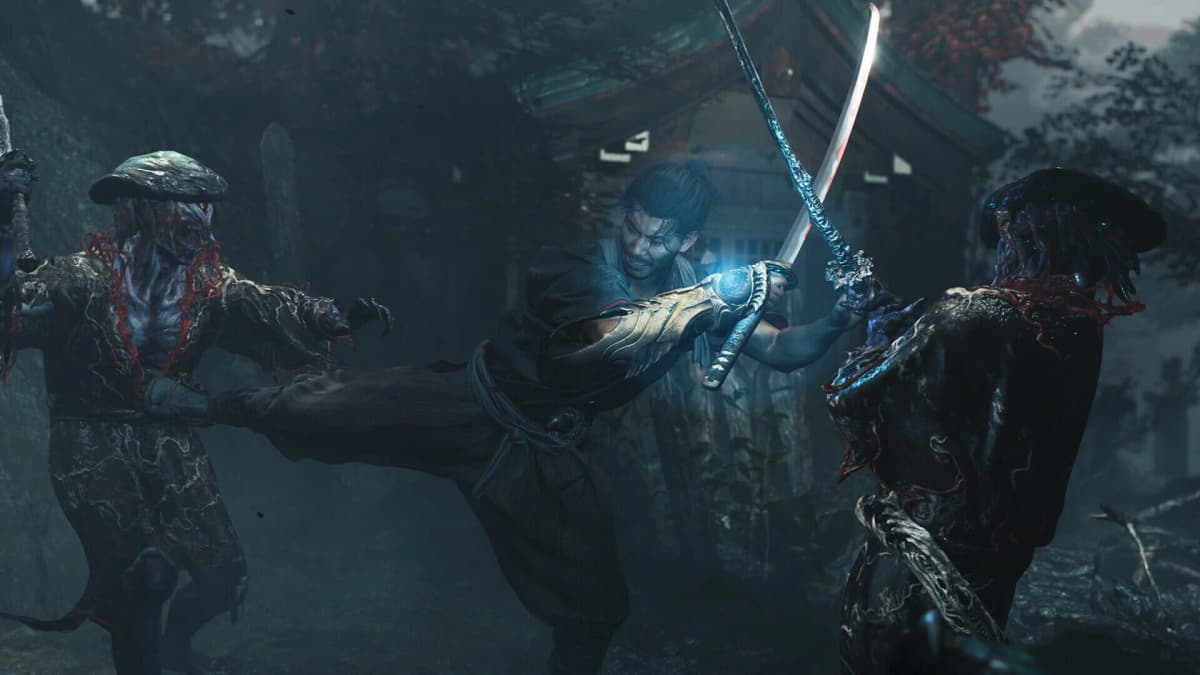
Phase one: build the first Break Issen without forcing damage
Phase one is where you learn the fight’s tempo. Rasho-Gan uses his basic sword combo, projectiles, ground slam, and grab, but the arena is still comparatively readable. Keep the bow available, maintain mid-range, and focus on earning the first stamina break rather than racing his first health bar down with ordinary hits.
The safest first-phase pattern is simple and a little boring, which is exactly why it works. Let him approach. Guard the opener. Parry the standard three-hit chain, take your short punish, and reset. If he uses a purple overhead or a grab, dodge and re-center instead of trying to steal damage off the evade. This boss gets easier the moment you stop trying to win every exchange and start treating each pattern as its own little exam.
Most non-purple projectiles are useful parry opportunities. If he sends blades or ordinary energy shots while you have room to see them, deflect them instead of sprinting away. They chip stamina and bring the Break Issen prompt closer. If he creates a large blood-like projectile, destroy it before it reaches you rather than trying to stand your ground and absorb the impact.
Keep healing items in reserve during this section whenever possible. A controlled first phase usually costs less health than the enhanced phase, and spending every heal early leaves no margin for the moves he gains at roughly 60% remaining health.
Phase two at about 60% HP: bow interrupts matter more
At around 60% of Rasho-Gan’s combined health, the fight becomes more aggressive. His limbs and blades change, melee strings become faster, and he starts using the environment with red tendrils. This is the point to stop trying to improve your damage string and tighten your defensive choices instead.
When he lifts a tree, piece of rubble, or shrine object, immediately draw the Oni Bow and shoot the tether above him. Breaking the connection prevents the incoming throw and drops the object onto Rasho-Gan for heavy damage. This is one of the biggest momentum swings in the encounter, so keep enough spacing to see the tendrils and swap weapons without getting trapped against a wall.
His phase-two spinning rush is, again, the move to respect rather than style on. Even if you know it can be parried, dodging is the safer answer because the angle, speed, and second pass make a miss expensive. Roll clear of the first pass, turn the camera toward him, and be ready for the second approach instead of attacking into his recovery too soon.
Rasho-Gan may also counter overly aggressive players with sharper follow-ups in this phase. Let him start the exchange. Standard blade attacks still feed the stamina-break loop, purple attacks still demand a dodge, and every successful Break Issen shortens the most dangerous portion of the fight. If loose souls are on the floor after one of those windows, collect them during your reset and then go right back to guard range.
Where Rasho-Gan is fought and whether his attacks can be parried
Where do you fight Rasho-Gan?
You fight Rasho-Gan in a shrine arena during the Careful What You Wish For quest, where he is empowered by an idol and its red tether. Severing that cord early is part of the fight’s intended solution, not an optional trick.
Can Rasho-Gan’s attacks be parried?
Most of Rasho-Gan’s ordinary attacks can be parried, including his three-hit blade string and many non-purple projectiles. Purple attacks cannot be safely parried or blocked. Dodge the purple ground slam, purple grab, and the risky phase-two spin, then return to guard range and rebuild pressure through stamina damage.
Clearing the fight unlocks Oni Strength. The clean kill is rarely about emptying his health bars with long attack strings: cut the tether, absorb the loose souls, parry the safe attacks, dodge the purple ones, and take every Break Issen prompt as soon as it appears.
More Onimusha: Way of the Sword guides: all bosses in story order · best build and skill tree · parry and Soul tips · Defense, Blaze and Issen explained.
FinalBoss // Gear
Level up your setup
01Top-rated gaming headsetson Amazon→02High-refresh gaming monitorson Amazon→03Gaming chairson Amazon→04Discounted game keyson Kinguin→Affiliate links · As an Amazon Associate, FinalBoss earns from qualifying purchases.
Want to Level Up Your Gaming?
Get access to exclusive strategies, hidden tips, and pro-level insights that we don't share publicly.
Ultimate Guide Strategy Guide + Weekly Pro Tips