

Minamoto no Yoshitsune has three phases, but the Onimusha: Way of the Sword final boss fight is decided by one resource rule: preserve a full Oni Awakening gauge for Phase 3. Your regular attacks stop lowering his HP in that last phase. Win the first two phases through disciplined deflects, posture breaks, purple soul collection, and low item usage, then activate Oni Awakening with L3 + R3 when the final phase gives you a safe opening.
Yoshitsune is the 18th and final main boss, fought during “The Clash at Rendaino.” He is built to test every defense-first lesson in the campaign: recognizing attacks that must be dodged, taking precise parry or deflect opportunities, managing stamina, and using Issen at the exact moment an attack arrives. Treating this as a normal damage race burns healing and Awakening resources long before the fight’s actual damage check.
Table of Contents (6)
What to equip before facing Yoshitsune
Build for survival, reaction consistency, and Awakening uptime rather than maximum raw attack. Yoshitsune’s armored Phase 2 absorbs or deflects normal combo pressure, while Phase 3 requires Oni Awakening to move his health bar at all. A strong setup gives you more chances to survive the long duel and enter the final phase with the meter that matters.
- Lion Dog charm: A recommended defensive/posture-focused charm for the fight. It is valuable because Yoshitsune repeatedly pressures your guard and stamina across all three phases.
- Reflex-fill charm: Equip a charm with a reflex or meter-fill effect. Faster gauge generation makes it much easier to start Phase 3 with Oni Awakening ready.
- Healing charm: Use a healing-efficiency charm or similar recovery accessory. This fight is long enough for stronger heals to matter more than a minor damage bonus.
- Amulet of Introspection: This widens the Issen and parry timing window, which helps enormously against the dash thrust, aerial kick, arrows, and late-phase slash strings.
- Calm Waters Oni Armament: Bring this Oni Armament if available; it is especially effective against Yoshitsune.
- Stimulant: Keep it for Phase 3. It can restore Awakening gauge when the final phase lasts longer than your first transformation.
- Sun-Dried Hozuki: Carry one as a backup because it restores your healing pouch to three charges.
- Heavy Restorative: Reserve this for a late emergency instead of correcting early Phase 1 mistakes with it.
Greater Defense and Greater Might Talismans also fit this encounter well. Save their use for late Phase 2 or Phase 3. Using every major buff immediately gives you extra safety during the easiest portion of the battle and leaves nothing for the phase where Yoshitsune becomes immune to ordinary damage.
Understand the posture and Issen loop first
Your main job in Phases 1 and 2 is to damage Yoshitsune’s Rikido or posture bar. Parrying and deflecting his attacks creates the reliable posture damage that normal light and heavy strings cannot match against his armor. When he is broken, take the punish and collect the purple souls that appear; those souls are part of your Phase 3 ammunition because they refill Oni-related gauges.
Do not hold guard for extended periods. Blocking continuously drains stamina, and a depleted guard leaves you exposed to the follow-up attacks Yoshitsune is designed to chain together. Use block only as a brief safety net, then return to deliberate deflects, sidesteps, and rolls. A parry helps build your Blaze gauge and opens counter opportunities; a deflect takes more stamina from the enemy and is especially useful when you need a posture break.
Issen is the highest-value counter in this fight. Instead of merely blocking an incoming hit, attack at the instant Yoshitsune’s strike would connect. The reward is immediate counter damage and a clean momentum swing. Do not force Issen attempts on every swing, though. A stable deflect is far better than losing half your stamina to a missed timing.
Phase 1: dodge unblockables and punish the clean tells
Phase 1 is a grounded katana duel. Yoshitsune uses sword strings, dash thrusts, kicks, and a delayed soul-drain grab. This is the phase where players most often lose health by trying to parry attacks the game expects them to evade. Dodge the unblockable attacks instead of trying to parry them. An attempted deflect against an unblockable string breaks your posture and leaves you open to the rest of the sequence.
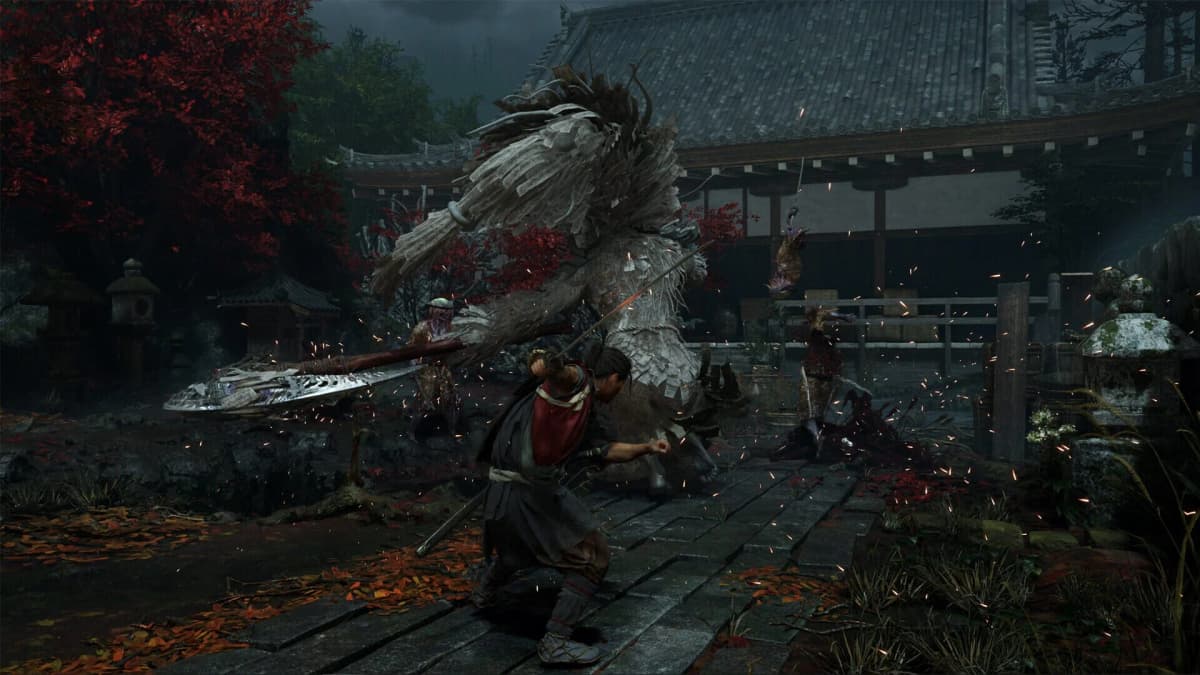
Maintain mid-range spacing. It gives you enough room to read his shoulders and weapon position while keeping his grab from becoming an unavoidable surprise. When Yoshitsune performs his white three-slash combo, move out and reset if the timing feels uncertain. Players comfortable with the sequence can deflect it up close, but a late input can nearly empty your posture on higher difficulties.
Watch for the shoulder tap: Yoshitsune taps his shoulder with the katana before launching a lightning dash thrust. Parry at the moment he arrives, rather than when he starts moving. That timing gives you a large posture chunk and can create an Issen opportunity. His double aerial kick is another strong punish point. Perfect-dodge it, or land an Issen if your timing is established, and he falls long enough for a short combo. Take two or three safe hits, then return to defense; long punish strings risk being caught by his recovery attack.
The grab deserves special attention because it steals souls and enrages Yoshitsune if it lands. The safest answer is a backstep or side-dodge as his hand extends, not when the wind-up begins. On the more punishing difficulties, rolling as soon as the slow lunge starts is the safer call because the grab tracks heavily. If you want to counter the grab rather than evade it, press Forward toward Yoshitsune at the counter moment. Moving into him improves the chance of getting the counter; backing away during that input makes the counter less consistent.
- Prioritize clean parries on the dash thrust and safe counters on the aerial kick.
- Dodge every attack identified as unblockable; do not gamble your posture on a parry.
- Take purple souls after posture breaks, then save Oni Awakening instead of activating it.
- Use only small recovery items in this phase unless the attempt is already in danger.
Phase 2: break armor, track the three air dashes, and use the Firebird Flute
Yoshitsune enters an armored form in Phase 2. Normal attacks tend to bounce off, and extended combos accomplish very little until you create a real opening. Switch fully into a posture-breaking mindset: deflect his aggression, claim souls after breaks, and avoid spending your strongest consumables before the second half of this phase.
His opening action after transforming is commonly an aerial slam followed by a ground crack. Sprint away from the landing point, then sidestep the delayed shockwave instead of rolling directly through the cracked ground. The crack and Shatter-style reality tears punish panic movement; move before their hitboxes trigger, then wait for the next readable attack.
The essential Phase 2 pattern is his air-dash sequence. The air dashes come in threes: two horizontal dashes, then a dive. Dodge the first two sideways. After the second dash, prepare for the vertical finish and roll under or away from the dive. Rolling early after dash two often places you directly in the dive’s landing path, so keep enough stamina to react to the final hit.
Use the Firebird Flute when Yoshitsune commits to extended aerial strings. The flute knocks him out of the air and returns the fight to the ground, where his pressure is much easier to read and parry. Each activation provides three shots, so do not waste them at long range. Fire when he is clearly airborne and committed to a dash, barrage, or prolonged aerial movement. Three accurate shots can deny several of his most dangerous attacks and create the opening you need for posture pressure.
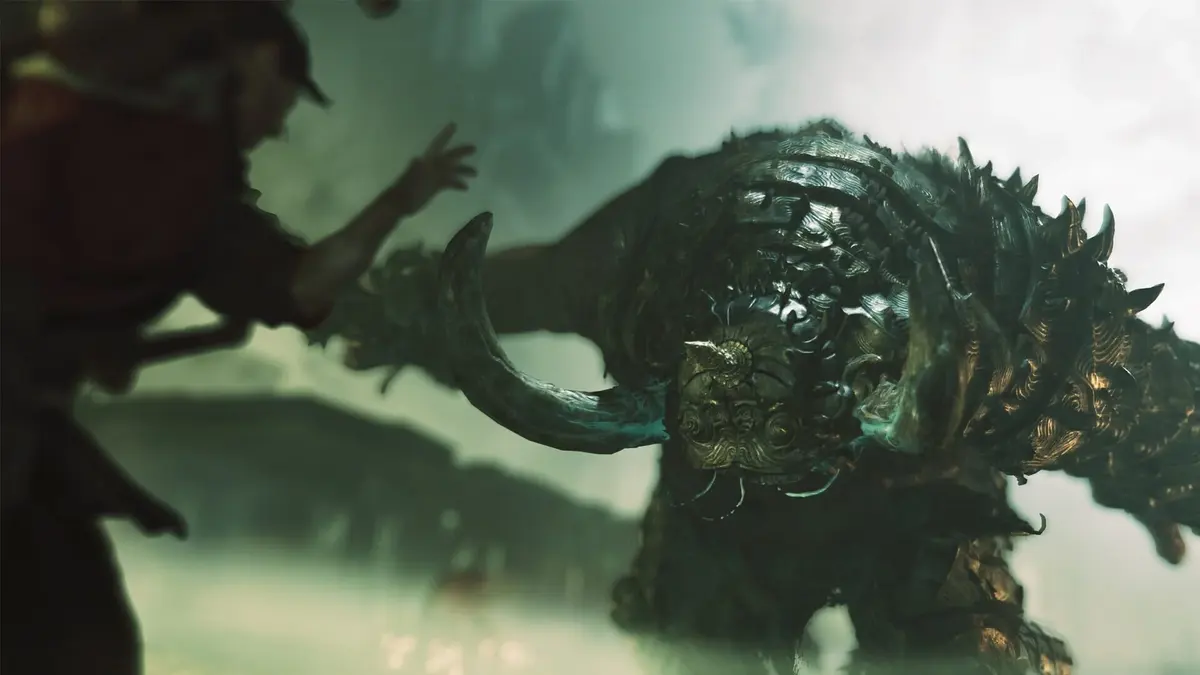
His aerial arrow barrages are more manageable with timed deflects than with held guard. Guarding through a full barrage drains too much stamina and can become lethal if a delayed shot breaks your posture. When arrows arrive from both sides, focus on the rhythm rather than trying to attack between them. Phase 2 rewards patience: one posture break and a handful of purple souls are worth far more than a risky heavy combo into his armor.
Phase 3: activate Oni Awakening before trying to damage him
Phase 3 is where the fight’s central mechanic becomes mandatory. Yoshitsune gains Genma energy, illusion clones, soul-pull pressure, and arena-wide slash sequences. His HP only takes meaningful damage while you are in Oni Awakening. If you are attacking with normal weapon strings and the health bar is not moving, stop spending stamina on offense. Build or recover your gauge, then activate Oni Awakening with L3 + R3 during a safe opening.
This is why Oni Awakening must be saved through Phases 1 and 2. Entering the final phase with a full gauge lets you convert your first stable punish into real boss damage immediately. Once transformed, attack decisively: use Issen opportunities, short combos, and any safe high-damage routes you have. Save the R1 finisher until the Awakening gauge is nearly depleted. Delaying it lets you land more normal awakened hits first, then extracts maximum value from the finisher at the end of the transformation.
When Yoshitsune starts the lock-on soul pull, move to collect the purple and blue souls before he can absorb them. Those souls refill the gauges you need for another Awakening cycle. Expect the arena-sweep slash immediately afterward. Dodge or Issen that follow-up; taking it can be fatal, especially after the soul pull has limited your movement. This sequence is one of the few moments where moving toward the danger is correct because the souls are your route back into the damage state.
The illusion clones exist to make you swing at the wrong target and overcommit. Keep your camera oriented toward the real Yoshitsune, use short deflects against the attacks you can identify, and avoid chasing every afterimage. Outside Oni Awakening, focus on survival, posture defense, and soul collection. During Oni Awakening, turn every stable opening into direct HP damage.
- Start Phase 3 with Oni Awakening ready whenever possible.
- Use awakened Issen and short combos before spending the
R1finisher. - Collect souls during the soul-pull sequence, then evade or counter the sweep.
- Use Stimulant, Sun-Dried Hozuki, and major healing only when Phase 3 threatens to outlast your remaining resources.
- Ignore the urge to spam normal attacks after Awakening ends; they do not solve the HP gate.
Why the final boss health bar is not lowering
Yoshitsune has three phases across two health bars, and Phase 3 applies the important exception: his Genma state prevents normal attacks and non-awakened skills from dealing effective HP damage. The fight is functioning correctly when his health appears unchanged outside Oni Awakening. Activate Oni Awakening, then use your offense during that transformation window.
Phase 2 can create similar confusion because armor makes regular attacks bounce or deal very little. The answer there is posture damage through parries and deflects. The answer in Phase 3 is Oni Awakening. Keep those two rules separate and the fight becomes far more manageable: break him down in Phase 2, then spend your saved transformation to finish the last phase.
More Onimusha: Way of the Sword guides: all bosses in story order · best build and skill tree · parry and Soul tips · Defense, Blaze and Issen explained.
FinalBoss // Gear
Level up your setup
01Top-rated gaming headsetson Amazon→02High-refresh gaming monitorson Amazon→03Gaming chairson Amazon→04Discounted game keyson Kinguin→Affiliate links · As an Amazon Associate, FinalBoss earns from qualifying purchases.
Want to Level Up Your Gaming?
Get access to exclusive strategies, hidden tips, and pro-level insights that we don't share publicly.
Ultimate Guide Strategy Guide + Weekly Pro Tips