
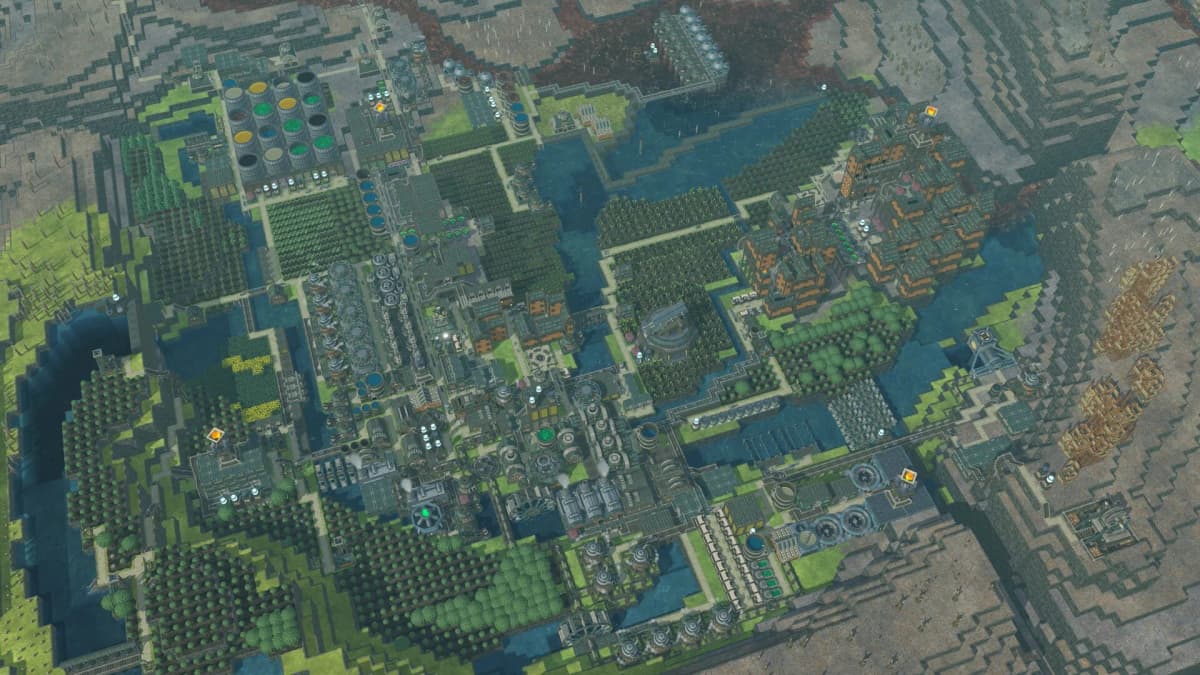
Timberborn: Best Early Tips for Water, Food, and Droughts
Most Timberborn colonies do not die from a bad layout. They die from the first drought, because the player spent the wet season building houses and decorations instead of water storage. The fix is to treat the opening like survival, not a sandbox: pause on spawn, lock down drinking water, plant fast food, and stockpile against the dry cycle before you widen the footprint.
The short version
- Pause the moment the map loads and plan your first paths, pump, and storage while the clock is frozen.
- Water is the first bottleneck. A Water Pump on clean water plus storage is your highest-value opening move on almost every map.
- Pick a water-rich map if you can. Lakes (256×256) and Waterfalls (128×128) are official maps with large accessible water, which makes early drought prep far less punishing.
- Plant carrots first as Folktails. They are eaten raw and mature in about 4 days. As Iron Teeth, kohlrabi fills the same role and matures in about 3 days.
- Build for the drought before you expand: dams to hold the river, reservoirs and tanks to bank water, food in storage to ride out the dry days.
- Keep production close. Beavers walk in real time, so distance directly cuts output.
- Delay wellbeing and decoration until water, food, and power are stable.
Why the drought cycle is the real enemy
Timberborn does not run on permanent good weather. The map alternates between wet seasons, when the river flows and crops irrigate normally, and droughts, when the source dries up, water stops flowing, and unirrigated farmland stops producing. Every opening decision you make is really a bet on whether the colony can keep drinking, eating, and working through that next dry stretch. Once you internalize that the drought is coming and only the wet season is temporary, the correct priority order stops feeling like a list of tips and starts feeling obvious: survival first, logistics second, bonuses last.
This is also why “it looked fine all wet season” is the most common famous-last-words in this game. A colony with stable stored water survives a drought with ugly housing. A colony with beautiful housing and no reserve collapses the first time the river quits.
Pause on spawn and plan the first minute
This is the cleanest early advantage in the game because the clock is meaningful from the start. The moment a new map loads, pause and use that free window to sketch your opening footprint: short paths, water access, early storage, and the first production buildings you know you will need. That pause is where you prevent the usual waste of beavers walking back and forth while you are still deciding where everything goes.
You do not need a perfect blueprint. You need a workable starting block that avoids dead space and keeps the first few jobs close together. Even a basic layout performs better when your pump, food chain, and stockpiles are all reachable without long detours.
Secure water before anything that looks impressive
If you remember one opening rule, make it this one. Your beavers need drinking water immediately, and the first drought arrives sooner than new players expect. That makes a Water Pump next to clean water plus early storage your highest-value first move on almost every map. Housing can wait. Wellbeing can wait. A stylish district can definitely wait.
Water is both a daily survival resource and the thing that keeps farms productive later, so add water tanks or equivalent storage early enough that you are not relying on real-time pumping right when a drought starts. If you want tighter control over river levels for that reserve, the dam systems are worth learning early — see our guide to using dams for early water control.
Choose the right map, then the right land
If you have map choice, start somewhere with a large, accessible water body. Lakes (a 256×256 map) and Waterfalls (a 128×128 map) are both official maps and are widely recommended starts for exactly this reason: more water on hand means more room to store reserves, irrigate crops, and absorb mistakes without the colony immediately spiraling. If you want help reading a map’s river shape and arable tiles before committing, our guide to reading maps and picking start locations walks through it.
On any map, use land by job. Green, irrigated tiles should go to crops and tree farms, because that fertile land is your renewable lifeline. Dry or non-arable ground is better used for housing, workshops, and warehouses that do not care about fertility. This one habit makes early towns far easier to scale because you stop wasting farm space on buildings that could sit anywhere.
FinalBoss // Gear
Level up your setup
01Graphics cardson Amazon→02Gaming laptopson Amazon→03High-refresh gaming monitorson Amazon→04Discounted game keyson Kinguin→
Affiliate links · As an Amazon Associate, FinalBoss earns from qualifying purchases.
Want to Level Up Your Gaming?
Get access to exclusive strategies, hidden tips, and pro-level insights that we don't share publicly.
Ultimate Guide Strategy Guide + Weekly Pro Tips
Get carrots online before you chase better food
Early food should be fast, reliable, and cheap to recover if something goes wrong. As Folktails, carrots beat more ambitious chains because they are eaten raw — no processing building required — and mature in roughly 4 days. That lets you stabilize calories without waiting on a grill or a longer supply chain. As Iron Teeth, kohlrabi plays the same role and matures even faster, in about 3 days. Either way, the point is the same: a fast raw crop buys you breathing room.
Fancy food and diet variety matter later, especially once you care about wellbeing bonuses, but they are not the correct first investment. Start with the dependable raw crop, then expand into grills, potatoes, and broader diets once you have the water, storage, and workers to support the added steps. The early game punishes overbuilding harder than underbuilding.
Build for the first drought, not the first screenshot
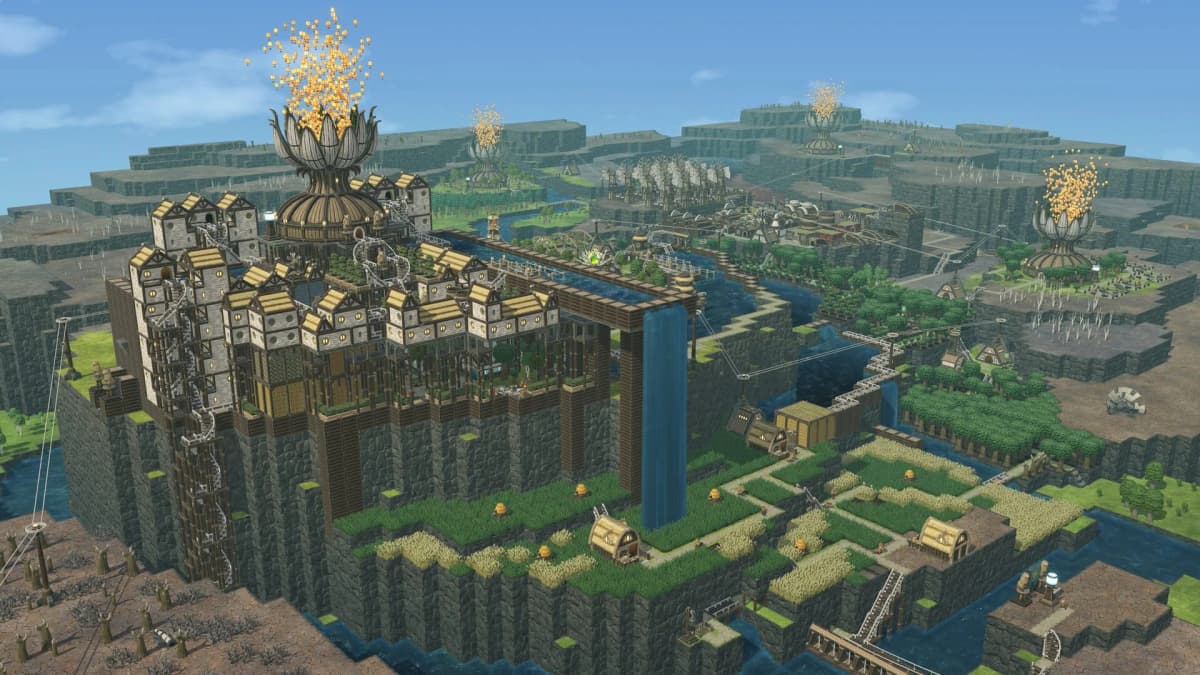
Drought prep is where solid openings separate from pretty failures. The priority is not one exact building order — it is getting drought resilience online early. That can mean dams to hold river levels, reservoirs to preserve irrigation, water tanks to bank a reserve, or floodgates later for tighter control. Which piece comes first depends on your map’s river shape, but the goal is always to stretch water security beyond the current weather.
Size your reserve to the drought, not to a fixed number. Aim to enter each dry cycle with enough stored water and food to cover its full length plus a margin, and resist growing your population until that buffer comfortably exceeds your expected drought duration. If you want a full opening walkthrough built around surviving that first dry spell, read our first-drought starter guide.
Shorter routes mean higher output
Timberborn is full of production chains that look fine on paper and underperform because of walking time. Beavers travel in real time, so distance directly cuts into output. Put storage near where resources are produced or consumed, keep mills near their inputs, and keep warehouses near busy workshops. For any building in a chain that runs all day, travel distance matters almost as much as the building itself.
This compounds as the settlement gets dense. Looping paths move traffic better than dead-end spurs, and multi-level paths with stairs can shorten routes that would otherwise snake around buildings. The result is less congestion, less wasted labor, and fewer shortages caused by hauling distance instead of an actual lack of resources.
Wellbeing matters, but it is not the first emergency
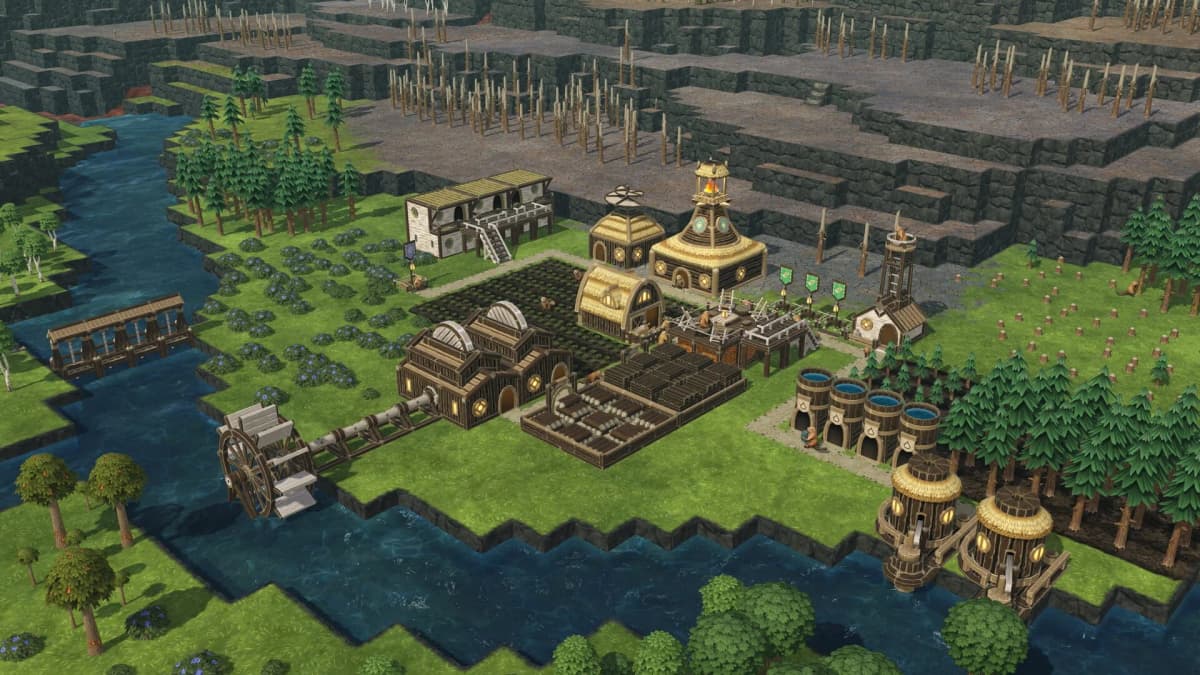
Wellbeing systems are worth using, and later they genuinely improve performance — better diets, entertainment, and comfort bonuses make beavers more productive. The mistake is rushing them before the colony has a stable base. Early on, the payoff is secondary to water, food, and power stability. Think of it as sequencing: survival systems keep the colony alive, logistics systems keep it efficient, wellbeing systems help it excel. Reverse that order and the next drought punishes you before the bonuses ever matter.
Common opening mistakes to cut immediately
- Building houses and decorative spaces before water storage is in place.
- Putting industry on fertile, irrigated land that should be feeding the colony.
- Spreading production far apart, then wondering why output feels slow.
- Overcommitting to processed food before a basic carrot (or kohlrabi) supply is safe.
- Assuming one good wet season means the first drought is solved.
- Following a rigid build order without adjusting for the map’s river shape and arable tiles.
The practical takeaway is to build your colony backward from the first drought. If the next dry spell started right now, would you have enough water, enough food, and enough nearby storage to keep working through it? If the answer is no, fix that before you chase expansion. In Timberborn, the strongest early tip is really a priority system: survival first, logistics second, bonuses later.