
A Folktails colony can look stable and still choke on power moments later. Workshops pause, haulers wait, and your power graph drops because the wind dipped at the exact moment the grid needed more output. That is the real lesson of windmills in Timberborn: they are excellent power buildings, but only if you plan around the fact that their output is never fixed. The fix is not more buildings — it is the right buildings, oversized, on one shared grid, backed by batteries.
Table of Contents (10)
The short version
- Both the Windmill and the Large Windmill are Folktails-only. Iron Teeth cannot build them and rely on Engines and water wheels instead.
- The standard Windmill maxes at 150 hp and produces nothing below 30% wind strength.
- The Large Windmill maxes at 300 hp (averaging roughly 144 hp over time) and still generates power down to 20% wind strength.
- Wind output is variable — it rises and falls with current wind. Size variable power at 130%–150% of expected demand.
- Batteries are mandatory, not optional. They turn variable wind into steady workshop uptime.
This guide covers the two Folktails wind buildings, what they actually produce, how to size a network that survives a lull, and where wind beats water-based power.
What windmills are, and who gets them
Windmills are faction-specific power buildings for Folktails. That matters immediately: if you started an Iron Teeth colony, these buildings will not appear in your build menu at all. Iron Teeth power their settlements with Engines and water wheels instead, so every windmill decision here is a Folktails decision.
Windmills are your drought-safe renewable source. They need no fuel and do not depend on river flow the way water wheels do. That makes them critical once a colony grows past a simple riverside setup and needs power that still works when water becomes the bottleneck.
- Windmill (standard): Folktails-only, maximum 150 hp.
- Large Windmill: Folktails-only, maximum 300 hp, averaging about 144 hp over a full cycle.
- Both are variable-output: their production tracks current wind strength.
- Both need storage: batteries are how you convert that variance into reliable uptime.
How wind power actually behaves
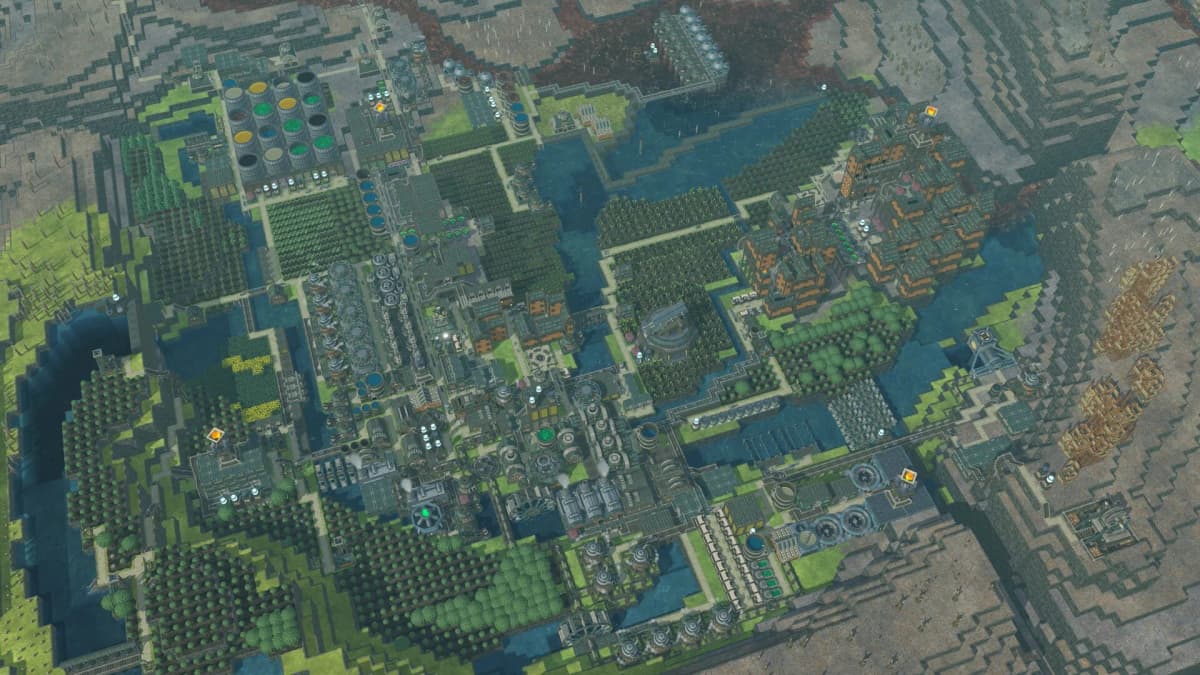
The easiest mistake is reading a windmill’s listed output as constant. It is not. Wind power in Timberborn rises and falls with wind strength, so the number you see one moment is not guaranteed a few seconds later. That is why wind-heavy colonies feel great one minute and underpowered the next when the grid has no storage.
The two windmills also have different cutoffs, and this is where the Large Windmill earns its reputation.
- The standard Windmill reaches 150 hp, but produces nothing once wind strength drops below 30%.
- The Large Windmill reaches 300 hp and keeps generating power down to 20% wind strength.
That lower threshold matters more than it looks. The standard building falls offline during weak-wind periods, while the Large Windmill keeps contributing in marginal conditions. If you are deciding which building carries your core grid, the Large Windmill is the safer long-term answer: it is both stronger and far less likely to shut off completely during a lull.
What role windmills should play for Folktails
For mid- and late-game Folktails, wind is often the best primary power source, because it is drought-proof. A water-based setup is excellent while the river is healthy, but droughts expose every weakness in a river-dependent grid. Windmills ignore that problem.
That does not mean wind is stable by itself. Wind is stable across seasons and map conditions, not across every second of the day. You are trading water dependence for output variance — and as long as you build around that trade, the exchange is worth it. Use windmills as the renewable engine of the colony, then use batteries to smooth the peaks and dips. If your map also offers steady flowing water, water wheels still help as baseline support. (For the full water-vs-wind picture, see the windmill output and setup guide.)
How to size a windmill network so it does not collapse
The practical planning rule is to build variable power systems at about 130% to 150% of expected demand. That buffer exists for two reasons: wind output fluctuates, and buildings do not draw power in a neat, predictable pattern. Constant sources such as Power Wheels and Engines only need roughly 110%, but wind is variable, so it needs the wider margin.
Apply it without overthinking the math. If your workshops, industry, and support buildings need around 1,000 hp during a busy production period, plan for roughly 1,300 to 1,500 hp of wind generation on paper, then add battery capacity on top. The windmills handle average generation; the batteries absorb the bad moments.
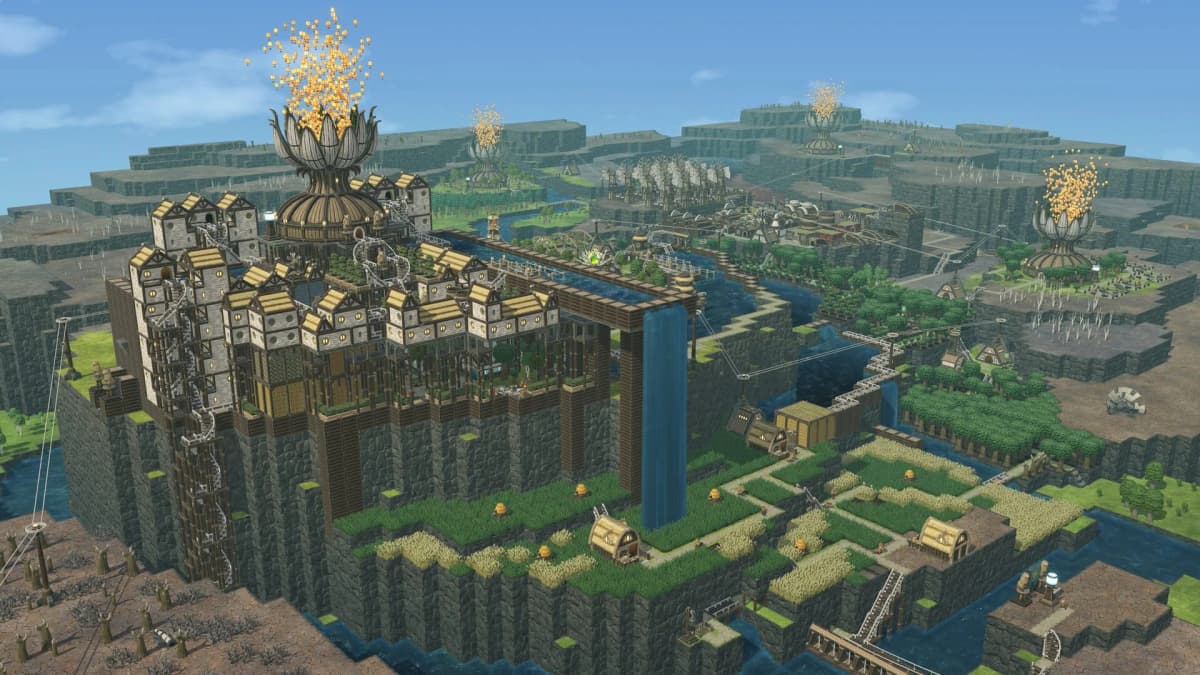
Do not split power into isolated mini-grids unless you have a specific reason. Connect generators, consumers, and batteries into one shared system wherever possible. A unified grid gives every stored unit of power more chances to cover a sudden dip, and it stops one cluster of buildings from stalling while another sits on unused generation.
- Plan wind at 130% to 150% of expected demand.
- Use batteries to smooth weak-wind periods.
- Keep power buildings on one shared network.
- Expect demand spikes when multiple workshops run at once.
Windmill vs Large Windmill: which one to rely on
If you are choosing a foundation for serious colony power, the Large Windmill is the better performer. At 300 hp it has double the maximum of the standard 150 hp Windmill, and its 20% low-wind threshold beats the standard building’s 30% cutoff. The standard Windmill still does useful work, but it is more vulnerable to the all-or-nothing dropouts that make a grid feel unreliable.
That makes the smaller building better suited to lighter duties: supplementing a modest network, topping up batteries when conditions are good, or covering non-critical loads. The Large Windmill is the long-term backbone, because it keeps contributing in weaker wind instead of going dark below 30% strength.
If your colony is already suffering repeated production stalls, building the network around Large Windmills usually fixes the problem more cleanly than placing more standard ones and hoping the averages work out.
Where to place windmills, and what high ground actually does
Placing windmills on high ground or platforms is good practice, but not for the reason some players assume. Elevation is not a direct power multiplier in Timberborn — a hilltop does not secretly boost output.
High placement still helps for practical reasons. It protects buildings from flood risk, keeps valuable flat land open for farms and industry, and lets you dedicate an area purely to power. That is the real layout advantage: better colony organization, not stronger wind numbers. Build high for safety and space efficiency, not for extra hp.
When windmills beat water wheels, and when they do not
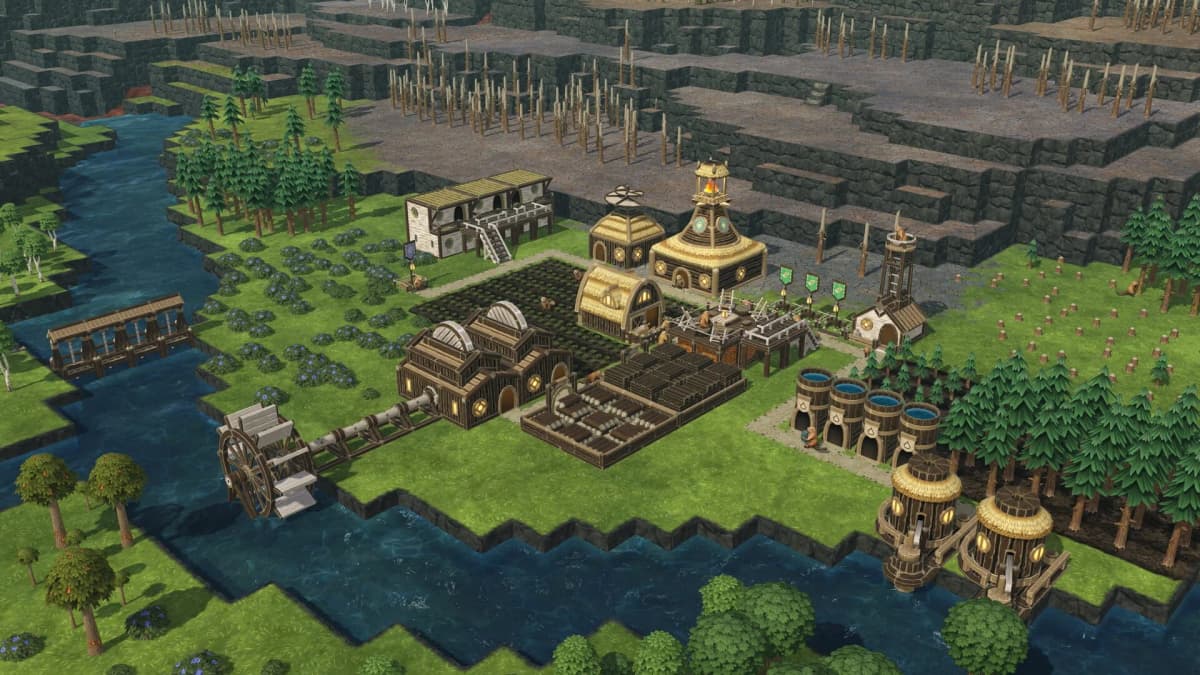
If your map gives you strong, reliable water flow, water wheels are excellent baseline power. They feel steadier while the river cooperates, and for workshops sitting beside flowing water, that consistency is easy to manage. But the moment droughts become the deciding factor, windmills pull ahead: they keep working without fuel and without river motion. Wind is the drought-safe renewable; water is the better baseline only when flow is available and dependable.
In practice, the strongest mixed setup is simple: let water handle whatever steady river-adjacent generation your map supports, and let wind plus batteries carry the colony through the moments when water cannot. If you are still settling the early-game power question, the Folktails vs Iron Teeth faction guide covers how each side handles power from the start.
Common mistakes
- Trusting listed output as guaranteed output. Windmills do not produce a fixed number, so a colony built with no margin will stall.
- Skipping batteries. Variable wind without storage means workshops go dark every time the wind drops.
- Using the standard Windmill as a backbone. It works, but the 30% cutoff makes it fragile during weak wind — the Large Windmill holds to 20%.
- Splitting power into disconnected pockets. A unified grid uses storage and generation far more efficiently.
- Building on hills for a hidden bonus. Elevation does not improve output — use high ground for flood safety and space instead.
Practical takeaway
If you are playing Folktails, treat windmills as powerful but variable infrastructure. The standard Windmill tops out at 150 hp and dies below 30% wind; the Large Windmill reaches 300 hp and keeps working down to 20%, which makes it the reliable long-term backbone. Build wind to 130–150% of your peak paper demand, connect everything into one grid, and back the whole system with batteries. Do that, and wind stops feeling random and starts feeling like the most dependable drought-proof power source in the colony. For the water side of your grid, the dams guide for early water control pairs well with a wind-first power plan.
FinalBoss // Gear
Level up your setup
01Graphics cardson Amazon→02Gaming laptopson Amazon→03High-refresh gaming monitorson Amazon→04Discounted game keyson Kinguin→
Affiliate links · As an Amazon Associate, FinalBoss earns from qualifying purchases.
Want to Level Up Your Gaming?
Get access to exclusive strategies, hidden tips, and pro-level insights that we don't share publicly.
Ultimate Guide Strategy Guide + Weekly Pro Tips