
You’re Not Stuck – Here’s How to Reach and Beat James Stevenson in High on Life 2
Game intel
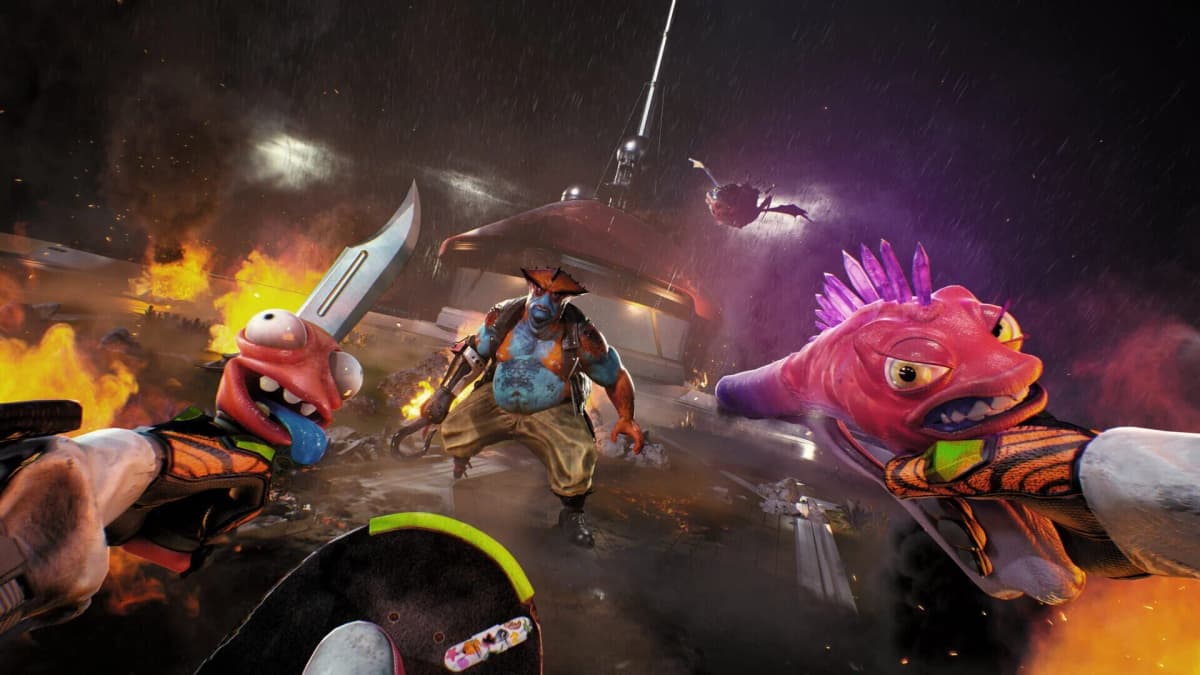
High on Life 2
An intergalactic conspiracy threatens the fate of humanity! Team up with a wide cast of talking alien guns as you shoot, stab, and skate your way through the e…
James Stevenson’s bounty in High on Life 2 stalls most players in the same four places: the penthouse with no usable front door, the greenhouse sprinkler puzzles, the pixelated N64-style realm, and the Blue Wizard boss who refuses to take damage. None of it is hard once you know the mechanic each stage is testing. This walkthrough takes you through every step.
The short version
- Penthouse entry: skip the lobby. Glob Shot the parked truck’s launch pad, skateboard off the mattress onto it mid-air, then take the rooftop.
- Greenhouses: hit buttons to turn sprinklers into grind rails, shoot plant bulbs for platforms, and freeze fans with Sweezy’s time bubble. The final room needs you to daisy-chain amps into a door’s power box before anything turns on.
- Penthouse painting puzzle: grab the book behind each painting, place both on the bookshelf, then step through the new painting into the Prismeria pixel realm.
- Crowd scene: use your Info Scanner to find and convince three influential crowd members before the gallows timer expires. Then pull the lever to free the Gatlian, Bowie.
- Boss: the giant blue head is invulnerable. Wait for the stone-punch attack, break the rock on his hand with Bowie’s Soul Hole to expose the real wizard, then burst him with Gus.
If you’re working through Squanch’s bounty board, the same mechanic-first approach clears the other contracts too — see our Bronkin Bucko kill-or-recruit guide and the Berkel bounty walkthrough.
Step 1: Getting to the penthouse without the front door
Accept the James Stevenson bounty, head to Circuit Arcadia, and find the fancy golden hotel on the northwest side of the map. Walk into the lobby and security blocks you immediately because you’re not a tenant. Don’t argue with the guards — the real route is outside:
- Exit the hotel and look to the side for a guy pinned under a mattress. That’s your landmark.
- Nearby is a parked truck. Use Travis’s alt-fire (Glob Shot) on the truck’s launch pad to fling it into the air.
- Build skateboard speed first, then bounce off the mattress and land on the truck while it’s airborne. From the truck, jump to the far ledge.
The jump fails when you treat it as a standing hop. Treat it like a half-pipe run: carry speed into the mattress, do not start from a stop. From the ledge, follow the rooftop path. Lizzie chips in with chatter about your target, and you reach the rooftop gardens where the puzzles start.
Rooftop greenhouses and sprinkler skate lines
The gardens are a chain of greenhouse rooms where sprinklers become grind rails. Here is the sequence, room by room:
- First garden room: jump to the upper balcony and hit the big button. This toggles the sprinkler, turning the water stream into a grindable line. Hop on with your skateboard and ride it across.
- Second room (bulb platform and fan): shoot the glowing plant bulb to spawn a leafy platform and climb on. A spinning fan blocks the wall — swap to Sweezy and fire a time bubble at the fan to stop it, then jump through before it spins back up. On the far side, activate the sprinkler control and ride the new water line.
- Multi-bulb climb: in the taller room, shoot every plant bulb to build a staircase of temporary platforms. Move fast — they despawn. Climb to the top and exit.
Outside, another small garden is blocked by a gap:
- Shoot the bulb above the doorway to reveal the hidden room with the sprinkler control.
- Activate the sprinkler, return, and use the water line.
- On the far side, inflate the lugblob and ride it up.
- Freeze the next fan with Sweezy’s time bubble to pass.
You repeat this pattern — climb to the sprinklers, activate them, then chain bulbs and water rails — into the final greenhouse.
The final greenhouse junction puzzle
This room stops most players because it looks like another sprinkler section, but you have to overload a door with power before anything turns on:
- On the right side, a fan hides a lugblob. Freeze the fan with Sweezy, launch the lugblob into the main room, and inflate it to reach the small control room up top.
- Inside that room, shoot the plant bulb. This drops a large power junction in the center of the lower floor.
- Back below, link the cables and amplifiers (“amps”) to that main junction with Travis’s Glob Shot, then daisy-chain amps until the line runs into the door’s power box.
- Once enough amps are connected, the door overloads and pops open, revealing the sprinkler controls.
Turn on both sprinklers, then skateboard along their water streams to reach the penthouse balcony.
Step 2: Solving the empty penthouse and painting puzzle
The penthouse is empty when you arrive. Don’t leave — this is where the mission opens up. Use your scanner and you’ll see several paintings highlighted with the “interact” outline.
- Left painting: walk through it like a portal into a bathroom. Grab the book near the tub, then go back through.
- Right painting: this leads to a personal (and gross) private room with another book on the table. Grab it and exit.
- Bookshelf: back in the main penthouse, interact with the big bookshelf and place both books. This reveals a new secret painting between the shelves.
Step through that new painting and you’re warped into a low-res, N64-style realm called Prismeria. All your guns and abilities still work — just with a retro filter over everything.
Step 3: Navigating Prismeria and reaching the town
From your spawn point, cross the bridge and follow the linear path. You’ll find skeleton-like enemies bullying a floating, softly-spoken figure — this is Apples. Clear the enemies first; the arena is tight, so a wide-spread weapon like Gus or crowd control from Creature handles it well.
Talk to Apples afterward. He points you toward the Blue Wizard, who supposedly knows where James Stevenson is. Keep moving until you reach a river section with fast-moving platforms.
River crossing and waterfall climb
This is a Sweezy showcase:
- Fire Sweezy’s time bubble at the moving platforms across the river to slow them, then skateboard and jump across.
- On the far side, inflate the lugblob to reach the upper ledge.
- Red platforms move vertically along a waterfall. Slow them with Sweezy, ride them up, and clear any enemies that spawn.
At the top you reach the town gate, where two guards recognize Apples as a villain.
Talking your way past the guards
The guards demand you denounce Apples. Pick the dialogue option that distances you from him — the line where Sweezy dismisses or insults him. The choice does not actually matter: siding with Apples (“Apples is our friend!”) only changes the dialogue, and either way the gate opens and nothing is locked out. So take whichever line you like; denouncing him is just the cleaner exit.
Inside town, follow the objective marker through a short skateboard section along the river. At a locked gate, use Travis’s ability on the green arrow panel to open the way forward.
FinalBoss // Gear
Level up your setup
01Top-rated gaming headsetson Amazon→02High-refresh gaming monitorson Amazon→03Gaming chairson Amazon→04Discounted game keyson Kinguin→Affiliate links · As an Amazon Associate, FinalBoss earns from qualifying purchases.
Step 4: Powering the gate and stopping the Gatlian execution
Past the river gate, guards mention a public Gatlian execution you can’t yet access. The door is locked — this is your next power puzzle:
- In the courtyard, find the power junctions and amplifiers.
- Link them so enough power reaches the execution gate’s power box, overloading and opening it.
- One crucial amp is hidden under blocks at the top of the stairs. Clear the blocks, hook that amp into your chain, and run the final cable to the gate.
Once the gate is open, the dialogue here doesn’t change the outcome — pick whatever you like; it only adjusts the guards’ reactions.

Convincing the crowd to stop the execution
A timer counts down above the gallows, and your job is to talk down the crowd before it expires. Open your Info Scanner to mark the three influential crowd members you need to convince, then approach each one:
- The man by the fountain: tell him you’re there to stop the execution because the prisoner is a Gatlian, like him.
- The person on the platform: tell them how much you love blood and death, and that you really meant it.
- The remaining leader: ask whether a court system might be a fairer method of exacting justice.
If you run out of time or get it wrong, reload the checkpoint and try again — the crowd stays hostile until all three are convinced. There are also fallback routes that reach the same result: wait the timer out (the hanging fails because Bowie has no neck), or pull the lever yourself. Cutting Bowie down with Knifey does not work — the executioner boots you back and reattaches him, so you’ll still need one of the other options.
Once the crowd disperses, head to the execution platform, pull the lever to free the Gatlian — his name is Bowie — and pick him up. A hologram of the Blue Wizard then reveals himself as James Stevenson. Bowie clearly knows him, and it gets personal fast. Clear the enemies that spawn to move on.
Want to Level Up Your Gaming?
Get access to exclusive strategies, hidden tips, and pro-level insights that we don't share publicly.
Ultimate Guide Strategy Guide + Weekly Pro Tips
Step 5: Reaching the Blue Wizard’s castle
Follow your scanner out of the arena. A door blocked by flames stops you:
- Equip Bowie and use his Soul Hole ability on the eye sigil above the flames.
- The portal dumps water barrels down, extinguishing the fire and opening the way.
From here the path runs uphill. You’ll see the castle in the distance, but boulders roll down the path first:
- Use the side platforms on the left and right to avoid the boulders.
- Keep moving — standing in the main lane gets you flattened.
- At the gate, use Bowie’s Soul Hole on the eye above it to close the boulder chute.
Take the side entrance on the right to reach the castle’s front.
Quiz bridge: answering the wizard’s questions
At the castle entrance, James appears as a hologram, offers “collaboration,” and throws up a multiple-choice quiz on a holographic screen. Ace the quiz to lower the bridge:
- Use Bowie to shoot the correct answers — his projectiles are precise, which helps on the screen.
- The questions reference earlier events and details about the world. If you’re unsure, listen to your guns’ commentary; they often hint at the right choice.
Answer well and the Blue Wizard lowers the bridge. Sit through his smug TV speech in the waiting room until the inner door unlocks.
Inside, James sits at a desk behind a visible force field. Shooting him does nothing yet. Use Bowie’s Soul Hole on the weak point in the barrier to trigger the boss fight.
Step 6: Blue Wizard James Stevenson boss fight
Recommended loadout and arena basics
The arena is wide and circular with pillars for cover. The loadout that does the most work:
- Bowie — required. His Soul Hole exposes the weak points and interacts with sigils. Without it there is no damage window.
- Gus — your burst and DPS option. Pairs well with Soul Hole portals to reposition shots into the exposed wizard.
- Kenny — reliable general damage when you need steady output.
- Creature — passive pressure and crowd control when ghouls and cherubs swarm you.
- Lezduit — helps you maintain consistent hits between windows.
Key concept: the giant blue head is mostly invulnerable. Your real damage happens only after Bowie breaks his protection and exposes the true wizard.
Attack patterns to watch for
He cycles through several attacks:
- Summoned ghouls and cherubs: he raises a hand and spawns waves of enemies. Kill them fast — they drop shield pickups you’ll need. Open with Creature to scatter them, then swap to Gus to clean up.
- Ground shockwaves: he points at the floor and sends a glowing wave across the arena. Jump it or hide behind a pillar. Later he chains aerial shockwaves that force you to mix jumps and dashes.
- Triangle forcefields: he fires triangle-shaped energy barriers, sometimes chaining several from one side before switching. Keep circling and cut through the gaps; don’t backpedal in a straight line or you’ll get pinned.
- Stone punch: your big opportunity. He wraps a hand in stone and swings it toward the arena.
Breaking the stone hand and exposing James
When he does the stone punch, you’ll see rock chunks on each finger and a faint sigil glow:
- Swap to Bowie and shoot the glowing sigil and rock clusters on his fingers. Focus one hand at a time.
- Each destroyed section chips the stone. Keep moving sideways to dodge stray projectiles while you work.
- Once a hand’s rock is shattered, the giant head vanishes briefly and the real wizard appears in the open.
- This is your damage window: swap to Gus and unload everything. Soul Hole portals can redirect shots if he’s behind a pillar.
After a short time he retreats into the protective head and repeats the patterns. The fight is a loop: survive the spell spam and adds, break a stone hand, get a burst window.
Survival tips
- Use the pillars, but don’t camp them. Duck behind them for shockwaves and triangle volleys, then move — you need room to dodge adds.
- Farm adds for shields. Don’t ignore ghouls and cherubs. Kill them fast with Creature or area shots to restock shields.
- Prioritize the stone hand every time. The moment you see the stone punch, switch to Bowie and break fingers. Every break is a big chunk of boss health.
- Stay on your skateboard between attacks. Light board movement weaves between triangles and shockwaves better than pure strafing.
Repeat the cycle — survive, break the stone hand with Bowie, burst with Gus — until James Stevenson goes down.
Common mistakes
- Fighting the lobby guards. The front door is a dead end by design. The penthouse entry is the airborne-truck route outside.
- Standing-jumping the mattress. Build skateboard speed first or you’ll undershoot the truck every time.
- Skipping the power puzzle in the final greenhouse. The sprinklers won’t activate until you daisy-chain amps into the door’s power box.
- Leaving the empty penthouse. The mission continues through the paintings and bookshelf, not back out the door.
- Trying to cut Bowie down with Knifey. The executioner reattaches him. Convince three crowd members, pull the lever, or wait the timer out instead.
- Shooting the giant blue head. It’s invulnerable. Damage only lands after Bowie’s Soul Hole breaks the stone hand and exposes the real wizard.
Practical takeaway
Every stage of this bounty rewards the mechanic over raw aim: time bubbles for fans and platforms, bulbs for footing, amp chains for locked doors, the Info Scanner for the crowd, and Bowie’s Soul Hole to crack the boss open. Carry Bowie and Gus into the fight, wait for the stone punch, and break the hand before you burst. Stuck somewhere else in High on Life 2? Our prison-escape walkthrough covers the early gun-crafting puzzle.