You’re Sneaking Wrong in Styx: Blades of Greed’s Wall Mission
Game intel
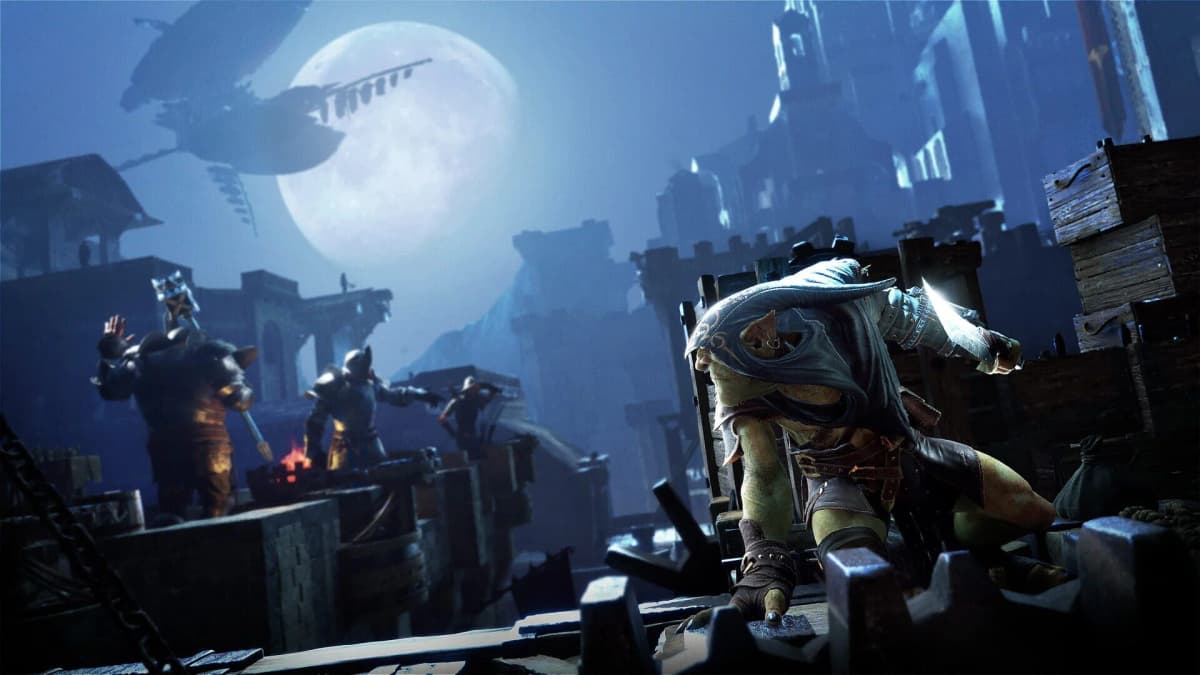
Styx: Blades of Greed
The master of stealth is back! Explore the dizzying heights of the Iserian Continent and cunningly eliminate your enemies. Thanks to your Quartz powers, you ar…
Why “A Way through the Wall” Feels So Brutal at First
After spending a couple of evenings stuck in “A Way through the Wall” in Styx: Blades of Greed, I finally put together a clean stealth route that rescues dwarf captain Irving, frees engineer Jasper, and secures the Airstation without turning the whole Wall into an alarm factory. This chapter throws a lot at you early: tight interiors, patrols that overlap, your first escort with Jasper, and a small arena-style clear at the end.
This guide walks through exactly how I now do the mission consistently:
- Using Amber vision and light control to stay unseen
- Learning safe stealth takedown and body-hiding habits
- Leaning on environmental kills (chains, chandeliers, hanging crates)
- Picking up and crafting lockpicks at the right times
- Escorting Jasper to the zeppelin without him getting shredded
- Silently clearing 7 enemies to secure the Airstation
If you follow this route, expect about 40-60 minutes on your first careful run. Once you know the paths and timings, you can easily cut that in half.
Step 1 – Talk to Helledryn and Escape the Start with Pure Stealth
From Helledryn, head out to the right and drop down the rope. The game is quietly testing whether you’ve understood how important vision cones and darkness are, so start the habit now:
- Pop Amber vision as soon as you land to highlight the switch that opens the first door.
- Stay crouched and hug the dark edges of the room as you move to the switch.
- Hit the switch, then immediately move back into shadow rather than standing in the doorway.
In the next corridor there’s a locked door you can’t open yet. Check the keyhole anyway – this becomes muscle memory later. Since you don’t have a lockpick yet, use the small opening in the bottom right to crawl through. Inside the passage, extinguish torches as you go. This is your first reminder that lights are as dangerous as enemies in this game; I wasted early runs trying to stealth through fully lit rooms.
Step 2 – The Mine Gang: First Real Stealth Takedowns and Body Hiding
On the other side you’ll reach a room full of miners. This is where the game formally introduces stealth kills. Don’t run straight for them:
- Stick to the front edge of the room, moving along dark patches and cover.
- Open the door ahead and slide through, staying crouched.
- Use the next room’s tutorial prompt to perform your first stealth kill.
- Immediately hide the body – behind crates, in shadows, anywhere it’s not in main foot traffic.
Get used to this loop right now: observe → isolate → kill → hide. Every time I got lazy about hiding bodies here, it snowballed into patrols discovering corpses and the whole section turning into chaos.
Continue forward, checking the keyhole before each new room. Head down the stairs and duck behind the barrel at the bottom. When the miner walks towards you:
- Let him come close, then perform a stealth takedown from cover.
- Drag the body a few steps back into shadow – it doesn’t have to be perfect, just out of the main path.
- Take the opening on the left instead of the obvious route ahead.
Exiting this side route, hide behind the three barrels. Here you learn to roll between covers. Time your roll so the guard on the low wall has his back turned, then slip behind him and take him out quietly. Jump over the wall and eliminate the second guard.
Step 3 – Controlling Lights, Air Stabs, and Finishing Helledryn’s Mission
Head left and vault over the low walls behind the workers. Roll from cover to cover to bypass the next guard without him ever seeing you. At the end, go up the stairs and look for torches on the walls.
- Throw sand at the torch on the wall to plunge the corridor into deeper shadow.
- Repeat on the second torch in the next corridor. Guards will go investigate, but you’ll be waiting in darkness.
- As the guard checks the torch, stealth kill him from behind and hide the body.
Open the door on the left, then look up to the top-right corner. There’s a higher route that turns this next bit into a playground instead of a headache. Climb up and slip through the opening.
From this vantage, you can perform your first air stab on the unsuspecting guard below. Drop straight onto him, then quickly eliminate the second guard before he finishes his surprised voice line. Pull the lever to open the way forward, then head up the stairs on the right.
From the balcony, jump onto the plank on the right, then double-jump to the small opening on the left. In the next room, drop onto the carpet to muffle your landing. There’s a sleeping guard and another on patrol:
- Take the awake guard first when his back is turned.
- Then finish the sleeping one with a quick stab.
- Move carefully around the stools – they’re easy to bump and can make just enough noise to mess you up.
Steal the relic from the table. A guard comes in afterward; be ready in the shadows next to the door for a quiet takedown. Go up the stairs to find a guard blocking your exit – this is where the game expects you to use a bolt for a silent ranged kill. Take him out, exit, and grab the Amber flash.
Use Invisibility from the Amber flash to safely drop down past watching eyes, then take the left-hand path to the exit marker. This completes Helledryn’s mission and drops you into the real “A Way through the Wall” sequence.
Step 4 – Crossing to the Tavern via Rooftops and a Quiet House
Back outside, the tavern is now off to your left. The direct ground route is messy, so stick to the vertical path:
- Jump across the platforms toward the tavern.
- Climb up the blue platform on the ship, then the hanging platform above it.
- Use the rope hanging from that platform to climb higher and jump to the next structure.
Drop down the stairs and jump over to the house across the gap. Inside, your goal is to stay under tables and in low cover rather than trying to outpace patrols. Go downstairs, crawl under the table, and use it as moving cover to reach the far side of the house and out to the dock area.
At the docks, hide behind the stacked logs on the right. There are a lot of guards here, but there’s also a very clean bypass:
- Look for a grate on the right-hand side; slip into it and follow the tunnel to the end.
- Exit the grate – you’ve skipped almost the entire dock encounter.
- Go down the stairs to find two guards. Instead of fighting them, spot the narrow hole in the left-hand wall and squeeze through.
This brings you into the tavern basement, which is where the real fun starts.
Step 5 – Tavern Basement and Chandelier Kill for Irving
In the basement, take out the first guard on your left and hide his body in the chest behind him. This keeps the patrol from stumbling over him later.
A second guard patrols on the right. You can either:
- Kill him and quickly drag the body into shadow, or
- Sneak past using the tables that line the room as low cover.
Either way, move fast but don’t stand upright in the open. Use the tables to get near the stairs and then head up. At the top, pull the lever near the large cask to progress the scenario.
Turn around; you’ll hear the innkeeper. On the left of the stairs going up, some thugs are harassing dwarves and searching for Irving. This is your first big environmental kill opportunity:
- Use Amber vision to highlight the chandelier chain above them.
- Get close enough to the chain’s hook and interact to unhook it.
- The chandelier drops, crushing the thugs in one go and resolving the scene without a messy brawl.
Once that’s done, go under the stairs and out the other side. Stay under the tables with casks on top; as long as you keep moving from table to table, the lone guard in the back won’t spot you. On the far side, slip out through the window onto a narrow ledge.
FinalBoss // Gear
Level up your setup
01Top-rated gaming headsetson Amazon→02High-refresh gaming monitorson Amazon→03Gaming chairson Amazon→04Discounted game keyson Kinguin→Affiliate links · As an Amazon Associate, FinalBoss earns from qualifying purchases.
Step 6 – Upper Floors: Your First Lockpick and Rooftop Route
On the ledge, move left to reach a balcony. You can see a guard leaning against a cupboard through the window. Enter, then take the door on the right and go up the stairs.
At the top, you’ll spot another guard patrolling across the far side of the hall. Turn left and hide inside the barrel. When he walks past you:

- Hop out and pickpocket him for your first lockpick.
- Use that lockpick on the locked door at the end of the hall.
- Grab the loot on the table inside, then head out the window.
Go around the corner to the right and enter through another window. Sneak past the sleeping guard without touching furniture, then check the next room. Two guards are chatting; hug the wall and slip by into the balcony beyond.
From this balcony, go right and double-jump to the hanging platform. There’s a door to the right and some boxes you can climb to reach an upper ledge. Up there, a guard is sleeping; pickpocket another lockpick off him, then circle around and head down the stairs.
Use the bedroom window to get back outside. Climb the wall, pass the chimney, and you’ll emerge in the open dining area of the tavern roof. On your left is the balloon station you’ll use later.
Want to Level Up Your Gaming?
Get access to exclusive strategies, hidden tips, and pro-level insights that we don't share publicly.
Ultimate Guide Strategy Guide + Weekly Pro Tips
Step 7 – Reaching the Zeppelin Dock and Triggering the Jasper Objective
From the balloon station, head left and up the broken stairs. The guards here can easily spot you if you rush, so slow down and watch their routes.
- Slip past the guard on the left while his back is turned and climb higher.
- Keep ascending until you reach what’s effectively a bell tower.
- Cross the gap in the floor, then drop down the other side to a platform overlooking the zeppelin.
Here you’ll see a glowing chain holding the zeppelin in place. Approach the lock at the base of that chain to trigger a cutscene with Irving and the Quartz-locked airship. When control returns, your objective shifts to reaching the Chest Room to free Jasper, the engineer who can open the lock.
Step 8 – The Chest Room: Crate Drop Environmental Kill and Meeting Jasper
From the zeppelin lock, look to the left for a path leading toward the Chest Room. Inside, go up the stairs on the right, past the fancy mine cart, then up the longer staircase.
You’ll emerge on a walkway overlooking a small courtyard with two guards. Don’t rush down there. This spot is perfect for a stylish environmental double kill:
- Use Amber vision to spot the box hanging by chains overhead.
- Wait until both guards are standing close together under it.
- Break the chains to drop the box and crush both guards at once.
Behind you are two more guards: one stationary, one patrolling. Let the patrol walk away from the stationary guard, then:
- Silently kill the stationary guard when no one’s looking.
- Hide his body near the cupboards.
- Wait for the patrolling guard to come back; take him out when he reaches your right side, again hiding the body next to the cupboards.
With the area clear, go through the door to the left of the cupboards. Loot everything you can – you’ll soon be crafting more tools – then interact with the large chest to trigger the cutscene that introduces Jasper. He’ll open the zeppelin’s Quartz lock and become your escort target.
Step 9 – Diversion vs Full Clear: Ringing the Bell to Cover the Escort
At this point, the game gives you two options:
- Fight and clear all 8 enemies in the area, or
- Create a diversion by ringing the bell, which is far safer for a pure-stealth run.
I strongly recommend the bell diversion. It keeps the escort phase much calmer and avoids messy open fights.
To trigger the diversion from the Chest Room:
- Climb the rope back up to the upper room.
- On the left is a gate controlled by a rolling switch; interact with it to lift the gate and exit.
- Head up the stairs on the left, watch for the patrolling guard, and duck into the small tunnel.
- This returns you to the bell tower area. Take the stairs up on the right.
There’s a guard near the bell tower door. You can either peek through the keyhole and wait for him to move, or climb to the upper level and drop through the ceiling like before for a stealth takedown. Once inside, pull the lever to ring the bell and create your distraction.
Now head back down to the Chest Room and talk to Jasper. With the diversion active, the route back to the zeppelin is much safer.
Step 10 – Escorting Jasper to the Zeppelin Without Chaos
Escort missions in stealth games can be a nightmare, but this one is manageable if you’ve cleared properly and used the bell. When Jasper starts moving:
- Stay a little ahead of him so you can check corners first.
- Don’t sprint wildly; sudden movement can still attract survivors you may have missed.
- If a stray guard remains, lure him away with a noise, then circle back for a takedown.
Follow Jasper back to the zeppelin lock. He’ll unlock the Quartz mechanism and trigger a cutscene with Irving and Helledryn. When control returns, your upgrade tree is finally available.
I put my first talent point into improving my stealth tools (Amber and invisibility) rather than raw combat. That choice paid off immediately in the next section: the Airstation clear.
Step 11 – Securing the Airstation: 7 Silent Kills and a Clean Exit
To finish the chapter, you need to secure the Airstation by eliminating 7 enemies. From the zeppelin deck, climb the rope on the left-front side of the ship and jump across to the Airstation platform.
There’s a workbench where you can craft a lockpick if you don’t have one. Make one, then open the door on the left. Inside:
- A guard is immediately on your right. Take him out and hide the body in the wardrobe.
- Climb onto the wardrobe and continue upward to a small ledge overlooking the main yard.
From this vantage you can see a big armored enemy patrolling below. You have three good options:
- Drop attack from above for a quick kill if his patrol stops under you.
- Use two bolts for a ranged takedown if you don’t trust the drop timing.
- Poison his drinking bucket if you want to show off (it’s slower but stylish).
You can’t move this body, so if you want it gone, bring acid to dissolve it. Between the door guard and this big enemy, you should now be at 2 of 7 kills.
Around the corner to the left you’ll see four more enemies clustered in the lower area, with a blacksmith working nearby. Use the small grilled-off pathway above to stay hidden and plan your approach.
- First, follow the lone patrolling guard. Wait until he’s isolated, then drop down behind him for a silent kill and drag him into shadow.
- Next, there’s a single guard with his back turned. Take him out when the pair of patrolling guards have just moved past you.
- For the two guards who patrol together, pop up behind them and kill the back guard first, then instantly the front one before he fully reacts.
- Lastly, eliminate the blacksmith once the area is otherwise clear.
That sequence – door guard, big enemy, lone patrol, back-turned guard, two-man patrol, blacksmith – gives you the required 7 enemies without triggering a gong of alarms. Once you’re satisfied the area is clear, pull the bridge lever to extend the bridge and watch the final cutscene for the chapter.
What You’ve Unlocked and What to Focus on Next
Once the Airstation is secured, “A Way through the Wall” is complete. You’ve:
- Rescued Irving and proved your worth to Helledryn.
- Freed Jasper, who unlocks the zeppelin and your upgrade tree.
- Practiced core stealth: light control, environmental kills, body hiding, and escorts.
- Learned reliable routes through one of the game’s most cramped and punishing early areas.
From here on, the levels get larger and your tools get nastier, but the habits you build in this mission – check every keyhole, kill from advantage, hide everything, and use the environment – will carry you for the rest of Styx: Blades of Greed. If I could push through this chapter cleanly after all my false starts, you absolutely can too.