

Onimusha: Way of the Sword brings the series’ duel-focused combat into a stamina-driven system built around precise defense, heavy pressure, and Break Issen executions. Sasaki Ganryu is the fight that tests whether you have learned that loop: trying to out-damage him with constant attacks gives him counter opportunities, while a parry-first approach drains his stamina and creates the opening that matters.
The clean answer for how to beat Sasaki Ganryu is to hold your ground for his thrust strings, parry rather than dodge their key hits, and use heavy attacks or Earth Shakers to finish draining his stamina. Do not chase him when he leaps away. Reset your spacing, wait for his next committed approach, then use the Break Issen prompt the instant his stamina bar empties.
Table of Contents (8)
Understand the Ganryu Win Condition First
Ganryu is built to punish the usual “stay close and keep swinging” boss strategy. His sword pressure, movement, and counter stance turn reckless offense into free damage for him. The objective is to reduce his stamina to zero, leaving him open for Break Issen. Health damage still matters, but stamina pressure determines when you get the safest and largest punish.
That changes how you should read the fight. A successful parry is not merely a defensive save; it is progress toward a stamina break. Heavy hits, deflects, wall impacts, Blazing attacks, and repeated parry pressure also contribute. Ganryu becomes much more manageable once you stop measuring every opening by how many light attacks you can squeeze in and start measuring it by how much stamina pressure you can safely apply.
| Ganryu situation | Best response | Why it works |
|---|---|---|
| Thrust string | Parry the hits you can read | Several hits create repeated parry chances and stamina pressure. |
| Leap away | Hold position and reset | Chasing leaves you exposed to his return attack. |
| Jumping slash | Dodge, then punish once | The landing recovery gives a short but reliable opening. |
| Jumping kick | Dodge rather than parry | A clean dodge can trigger Reflex Dodge and put you behind him. |
| Cross Slash and Blade Barrage | Interrupt with a Heavy Attack | Holding guard does not stop the barrage. |
| Counterattack stance | Use Oni power | Regular attacks are reflected with amplified punishment. |
| Empty stamina bar | Trigger Break Issen immediately | This is the boss’s main incapacitation window. |
Control the Opening Duel With Parry Pressure
Ganryu’s thrust is the most important attack to learn because it is multi-hit. Do not treat the first forward stab as the entire move. His thrust gives you several parry chances in one string, so missing the first timing does not mean you need to panic-roll away. Keep your camera steady, watch his blade rather than his feet, and recover into the next parry attempt.
The safest rhythm is simple: let Ganryu initiate, defend his committed string, then answer with one short combo or a heavy hit. Musashi’s fast one-handed light attack is useful for confirming a small punish. The slower two-handed heavy attack is better when Ganryu has clearly finished an animation or when you need to push his stamina toward a break.
- Use light → heavy when you have a brief opening after a parry.
- Use light → light → heavy only after a larger recovery window, such as a clean dodge of a jumping attack.
- Stop adding light attacks if Ganryu starts to recover or shifts into a defensive pose.
- Favor the heavy finisher when his stamina is already low; that is when a single committed hit can secure the break.
Do not hold block continuously. Guarding consumes stamina, and a long defensive shell leaves you with fewer options when the boss changes tempo. Block only long enough to identify the move, then choose the proper answer: parry the thrust, dodge the aerial attack, interrupt the barrage, or back away from the counter stance.
Do Not Chase Ganryu After His Leaps
Ganryu’s leaps are a spacing trap. He creates distance, and the natural impulse is to sprint after him before he can reset. That approach puts you in range of his next lunge or aerial return without enough time to read it. Do not chase him when he leaps away. Walk into a comfortable mid-range position, face him, and make him spend the next animation getting back to you.
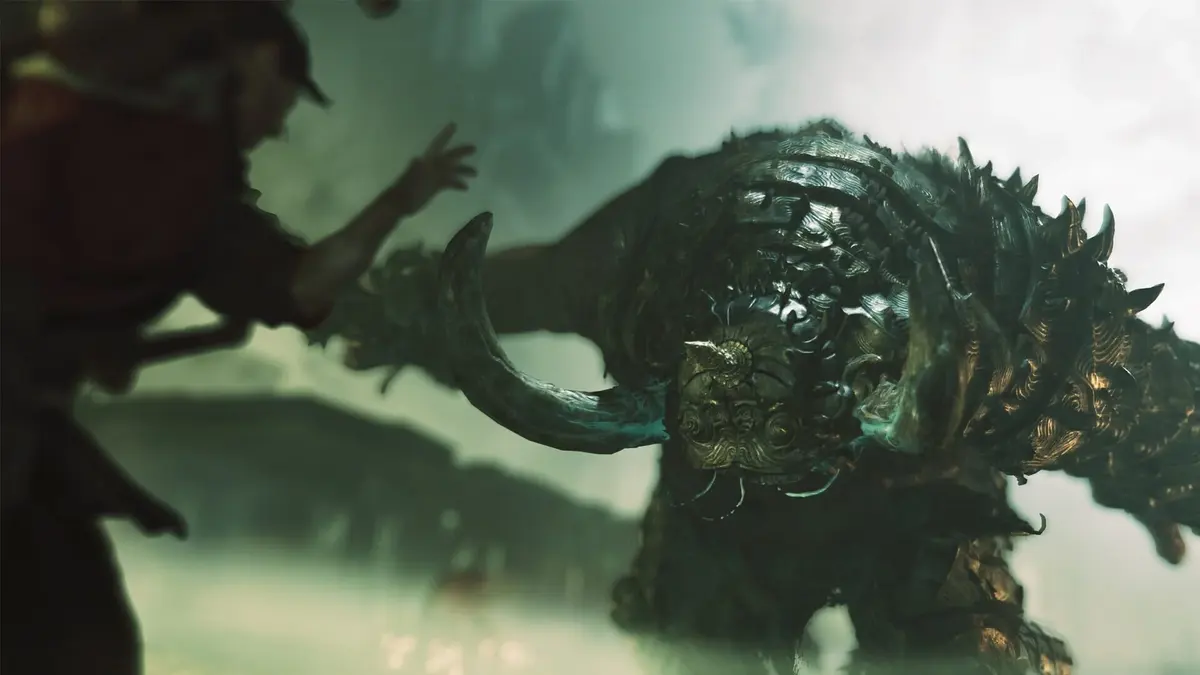
This rule matters even more near arena walls. You want Ganryu close enough to a wall that a parry or heavy hit can force environmental stamina damage, but you do not want to blindly run toward the center of the arena to maintain contact. Let the arena work for you. When he is near a wall, a well-timed defensive response can turn his own pressure into a collision and accelerate the stamina break.
His jumping slash is a separate read from the leap-back reset. Dodge the incoming slash, then take your punishment while he lands. Keep it short: one heavy strike or a compact light-heavy sequence is enough. If he uses the jumping kick instead, dodge at the last moment rather than trying to parry it. A correctly timed Reflex Dodge places you in position to land a couple of attacks from behind, but retreat immediately if his recovery ends before you finish.
Break Cross Slash, Blade Barrage, and Counter Stance Correctly
Ganryu has two moves that punish passive habits particularly hard. The first is Cross Slash and Blade Barrage. Guarding through it is not enough: use a Heavy Attack to stop the barrage. Waiting behind your sword wastes stamina and allows the sequence to keep controlling the fight. Commit to the interruption as soon as you identify the barrage startup.
The second is his counterattack stance. When Ganryu adopts it, normal attacks are returned at multiplied strength. This is the moment to stop mashing light attacks, even if his stamina bar looks close to breaking. Break the stance with Oni power instead. The visual pause can tempt you into treating him as vulnerable, but it is a punishment state designed to catch exactly that response.
Oni Vision can help with general awareness when the arena becomes visually busy, but it does not replace the essential Ganryu read: watch his weapon posture and forward movement. His threats are timing checks, not a damage race.
Use Earth Shakers to Force the Stamina Break
Earth Shakers, the hammer weapon, are especially useful against Ganryu because they help force stamina breaks. Their value is not in throwing out slow attacks whenever you are in range. Use them after a parry chain, a wall collision, a dodged aerial attack, or another confirmed recovery window. That is where their stamina pressure matters without exposing you to Ganryu’s fast retaliation.
Save the hammer swing for a real opening instead of replacing your entire sword plan with it. Ganryu’s pressure is still quickest to answer with disciplined defense. The ideal sequence is to parry his thrust string, push him toward a wall if your position allows it, then land an Earth Shaker hit or heavy attack while he is recovering. This combines the fight’s strongest tools: defense, positioning, and stamina damage.
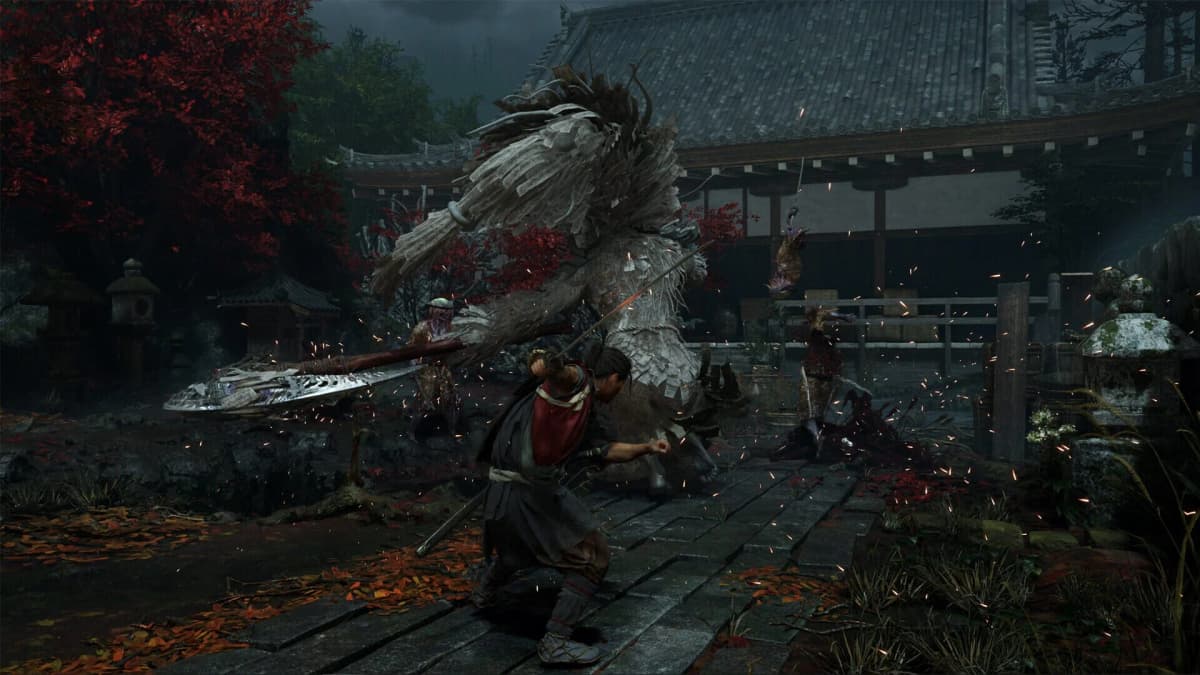
Use Break Issen the Moment Ganryu Is Exhausted
When Ganryu’s stamina bar reaches zero, use the Break Issen prompt immediately. Waiting to add one more regular attack wastes the state you have spent the whole duel creating. Break Issen leaves him incapacitated and gives you a choice between dealing major damage or taking Souls. For a difficult boss attempt, prioritize the damage unless you have a specific reason to need Souls.
The Issen critical sequence asks you to select a body zone with the left stick and confirm using the displayed attack input, shown as △ or ○ on PlayStation-style prompts. Keep your focus on the prompt rather than trying to reposition or queue another attack. Ganryu’s stamina break is the time to cash in your advantage, not to improvise.
Handling the Later Gioh Encounter
The later altered Ganryu sequence commonly associated with Gioh is more aggressive and gives you fewer comfortable recovery windows. Play it as a survival-first duel. You still want parries and stamina pressure, but the punish windows are shorter, and greed becomes more dangerous after every leap, feint, or sudden advance.
The key added threat is Gioh’s tentacle grab. The grab uses the same colour as the normal grab indicator, which is why it catches players who are looking only for a colour cue. Read the arm and tentacle animation instead. Once the appendage commits forward, dodge just before contact rather than reacting at the first flash of colour.
If you have a counter-grab opportunity, move forward toward the enemy as you counter. That forward movement makes the counter easier to perform than trying to retreat while inputting it. Still, a late dodge is the safer default against the tentacle grab because it prevents you from being locked into the full punish sequence.
- Keep the same mid-range spacing that worked against standard Ganryu.
- Expect a grab follow-up after the jumping kick and dodge just before it connects.
- Take one safe hit after a successful dodge instead of forcing a full combo.
- Use Earth Shakers only after a confirmed recovery, parry chain, or wall interaction.
- Trigger Break Issen immediately whenever the stamina bar is depleted.
Encounter Count and Thrust Defense
The current material does not establish a fixed number of Sasaki Ganryu encounters, and it does not confirm whether the later fight has scripted-loss conditions. Treat every Ganryu appearance as a full fight: manage stamina, keep your defensive discipline, and do not rely on the battle ending automatically.
For the thrust, parry is the preferred answer. Dodging can avoid damage, but it gives up the repeated parry windows built into the multi-hit string and slows your progress toward a stamina break. Dodge the attacks that are clearly designed for it, especially the jumping slash, jumping kick, and Gioh’s tentacle grab. Parry Ganryu’s sword pressure, force his stamina to zero, and convert every break with Issen.
More Onimusha: Way of the Sword guides: all bosses in story order · best build and skill tree · parry and Soul tips · Defense, Blaze and Issen explained.
FinalBoss // Gear
Level up your setup
01Top-rated gaming headsetson Amazon→02High-refresh gaming monitorson Amazon→03Gaming chairson Amazon→04Discounted game keyson Kinguin→Affiliate links · As an Amazon Associate, FinalBoss earns from qualifying purchases.
Want to Level Up Your Gaming?
Get access to exclusive strategies, hidden tips, and pro-level insights that we don't share publicly.
Ultimate Guide Strategy Guide + Weekly Pro Tips