
Diablo IV: How Resonant Hatred Works – Unlock, Loot, Tips
Game intel
Diablo IV
Shift the veil between Sanctuary and Hell in the all-new, chaos-fueled Infernal Hordes and their relentless Chaos Waves. Unleash deadly Chaos Perks and hunt do…
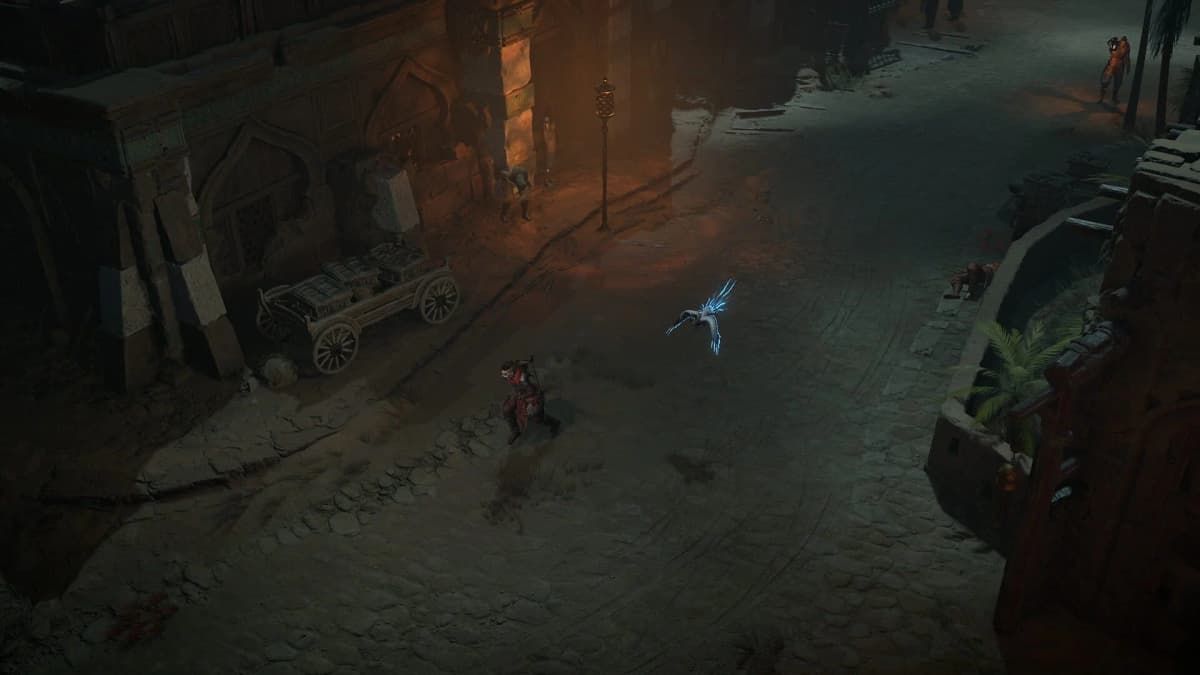
The first bad Echoing Hatred run usually ends before the activity has even shown its real difficulty. You burn a shrine too early, chase extra loot into bad positioning, the wave pressure rises, and a build that felt comfortable everywhere else suddenly folds. That is the fastest way to understand Echoing Hatred in Diablo IV — the wave-survival mode added with Lord of Hatred, and the activity most players still call “Resonant Hatred.” It is not just another dungeon with more enemies. It is a rare endgame fight built around escalating survival and clean resource management.
The short version
- What it is: Echoing Hatred is the endgame wave-survival arena added with the Lord of Hatred expansion and Season 13, which launched April 28, 2026.
- How you get in: you need a Trace of Echoes — a single-use key that drops in the world (far more often from endgame and Torment content). Your first one starts a priority quest with Temis at the Sightless Eye.
- The theme: it is built around Mephisto and the “Echoes of Hatred,” so expect demonic waves rather than a fixed route.
- Inside a run: survive escalating waves, grab limited one-time shrines at the right moment, and push as far as your build holds.
- Why it matters: rewards include special chests, loot goblins, uniques, and the chance at mythic-level gear.
What Echoing Hatred actually is
Echoing Hatred is Diablo IV’s pressure-cooker endgame mode. Instead of pathing through a fixed dungeon layout and solving a route, you enter a survival arena themed around Mephisto and the expansion’s “Echoes of Hatred.” The enemies keep coming and the difficulty keeps climbing, so the run ends when your build finally breaks rather than when you reach a tidy story-boss chest.
That design changes what the game is testing. Nightmare Dungeon logic rewards route efficiency and controlled elite pulls. Echoing Hatred leans much harder on build stability under chaos: sustained area damage, defensive uptime, mobility, crowd control, and the discipline to hold panic tools until they actually save a run. A setup that only feels good during short burst windows will look much weaker here than it does in ordinary farming. Because it is a rare, key-gated activity, treat it as a special-use endgame fight rather than your default farm.
How to unlock Echoing Hatred
Access is gated by one item: the Trace of Echoes. It is a single-use key that can drop anywhere in Sanctuary, with a much higher chance from endgame and Torment-tier content. When you pick up your first one, it starts a priority quest that points you to Temis at the Sightless Eye — that is where the mode is opened and where each subsequent run is launched.
- Run endgame and Torment content to farm Trace of Echoes drops.
- On your first Trace, follow the priority quest to Temis at the Sightless Eye.
- Spend a Trace of Echoes to launch a run.
- Repeat — each entry consumes one key, so make every run count.
Because the Trace is a single-use ticket, you do not want to throw your first one at an underpowered build. If traces feel scarce, the fix is to grind higher-tier content where they drop more often rather than forcing weak attempts. If you are still gearing for the season, a quick look at the strongest classes saves a lot of wasted keys — see our Best Classes for Lord of Hatred tier list before you commit.
How a run works once you are inside
Once you spend a Trace, Echoing Hatred becomes a survival climb. Demonic waves intensify over time and the arena is paced against the “Echoes of Hatred,” so standing still to reset, looting casually, or kiting forever is not the point. You are under pressure from both enemy scaling and the activity’s pacing.
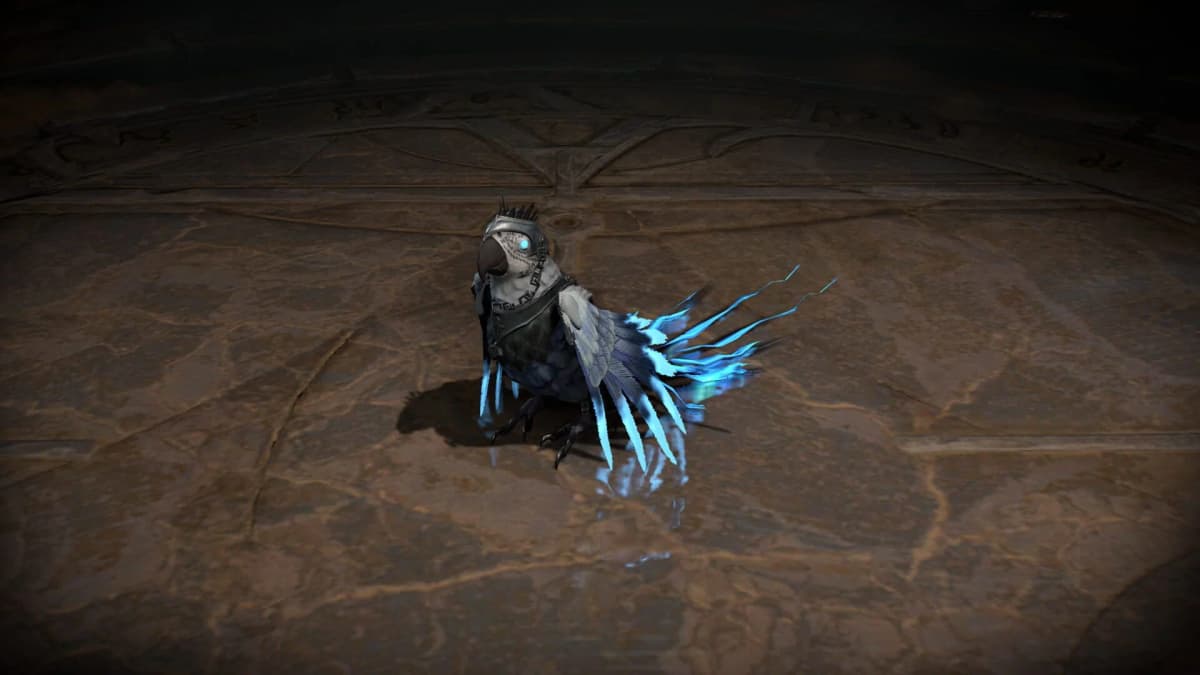
The arena seeds you with one-time shrines — lethal, artillery, channeling, and protection — that work as limited-duration pickups you can only use once per run. They are the biggest trap for new players because they look like free safety. Spend a protection or lethal shrine during the first calm stretch and you have bought comfort at the cheapest point in the run; the later waves are where that shrine would have decided whether you stabilize or collapse.
You will also see opportunistic loot — reward chests and loot goblins. The rule is simple: never break your defensive rhythm for side loot when the screen is already unstable. A goblin is only worth it if you can kill it without losing the run that spawned it. Because the mode runs until you fail, the goal is not to “finish” it; it is to push deeper waves, convert that into rewards, and learn where your build starts trading too much life or cooldown timing for each extra wave.
The builds that work best here
Prioritize consistency over highlight-reel damage. A build that deletes one elite pack but has weak recovery often performs worse here than a slightly lower-damage setup with stable sustain and clean movement.
- Area damage beats pure single-target. Endless waves punish narrow bossing setups.
- Mobility is not optional. Repositioning through clutter saves more runs than a minor damage increase.
- Reliable defensive uptime beats emergency-only defense. Barriers, damage reduction, and frequent mitigation windows all gain value.
- Crowd control gets stronger as density rises. Even brief breathing room lets you preserve potions and cooldowns.
- Resource stability is huge. If your build goes dry during sustained combat, later waves expose it fast.
Controller players should be careful with highly precise skills once density gets messy — forgiving hitboxes, persistent effects, and movement tools that do not need perfect aim pay off when the screen fills up. PC players get more precision, but the priority is the same: skills that stay dependable when visibility gets ugly. If your endgame setup is tuned purely for fast clears with low defensive investment, do one honest check before spending a Trace: ask whether it survives bad overlap, not whether it kills easy waves quickly. For class-by-class direction, the Lord of Hatred Necromancer build is a good template for the kind of sustained, durable setup this mode rewards.
FinalBoss // Gear
Level up your setup
01Top-rated gaming headsetson Amazon→02High-refresh gaming monitorson Amazon→03Gaming chairson Amazon→04Discounted game keyson Kinguin→
Affiliate links · As an Amazon Associate, FinalBoss earns from qualifying purchases.
Want to Level Up Your Gaming?
Get access to exclusive strategies, hidden tips, and pro-level insights that we don't share publicly.
Ultimate Guide Strategy Guide + Weekly Pro Tips
When to use shrines and other limited resources
The best shrine timing is usually later than you think. Hold the first one until one of three things happens: elite pressure forces potion use on cooldown, your normal defensive rotation no longer resets cleanly between waves, or the screen stops giving you safe reposition windows. Those are the signs the run has moved from “busy” to “unstable,” and that is where a shrine earns its value.
The same logic applies to class cooldowns and consumables. Do not stack everything to solve a medium threat when the run can still spike much harder. In a mode built around escalation, overreacting early is the most common resource mistake.
A clean rhythm: handle early waves with your baseline rotation, pop one major defensive layer before you touch a shrine, and only commit the shrine when your ordinary tools can no longer recover control. That keeps the run out of a slow panic spiral.
What rewards make it worth doing
Echoing Hatred is a high-value endgame activity. Runs drop special chests, spawn loot goblins, and can reward top-tier gear including uniques and mythic-level items. Push deeper waves and the reward quality climbs with the difficulty, which is exactly why it is worth saving your Traces for runs your build can actually carry.
Even if your character already clears other content comfortably, this is one of the better places to find out whether “comfortable” actually means “endgame ready.” If you want a similar Lord of Hatred endgame loop while you build up your Trace supply, the Cow Level guide covers another rewarding farm in the same expansion.
Common mistakes that waste a Trace of Echoes
- Entering underpowered. A Trace is single-use — do not spend one on a build that cannot survive overlap.
- Treating it like a standard farm. Play too casually and the scaling catches up all at once.
- Burning shrines on manageable waves. Save lethal, artillery, channeling, and protection shrines for actual instability.
- Overvaluing single-target burst. Wave content rewards sustained, multi-target control.
- Chasing side loot into bad positioning. Goblins and chests are bonuses, not permission to throw a run.
- Ignoring sustain problems. Potion dependence and resource starvation get worse the longer the run lasts.
If you keep dying earlier than expected, the fix is rarely “play more aggressively.” It is almost always one of three adjustments: add more reliable defense, improve movement and crowd control, or delay your limited-resource usage so the later waves do not hit you with nothing in reserve.
The practical takeaway
Echoing Hatred is Diablo IV’s rare Lord of Hatred survival challenge: farm a Trace of Echoes, open the mode through Temis at the Sightless Eye, expect escalating Mephisto-themed waves, treat shrines like emergency tools instead of freebies, and build for stability over burst vanity. Go in understanding it as an endurance test with high-end loot upside and it makes sense immediately. Go in expecting another casual dungeon clear and it ends fast.