How to Defeat the Glacial Bishop in Clair Obscur: Expedition 33

How to Defeat the Glacial Bishop in Clair Obscur: Expedition 33

Game intel

Clair Obscur: Expedition 33

View hub

Lead the members of Expedition 33 on their quest to destroy the Paintress so that she can never paint death again. Explore a world of wonders inspired by Belle…

Genre: Role-playing (RPG), Turn-based strategy (TBS), AdventureRelease: 4/24/2025

Why the Glacial Bishop is Worth the Trouble (and Why I Struggled)

After spending over an hour getting flattened by the Glacial Bishop the first time I stumbled onto his frosty lair, I almost dropped the fight for later. But after returning at level 47 with better gear and stronger understanding of Clair Obscur’s combat, I finally took him down-and the victory (and loot) was totally worth the headache. Here’s what I wish I’d known before my first attempt.

Getting There and Prepping Right: Don’t Rush In

You’ll find the Glacial Bishop not far from Monocco’s house, on the snowy island that houses several late-game story events. If you’re exploring after clearing the coastal cave, you’ve probably seen him looming. My advice: don’t try to brute-force this fight under level 45-I got one-shotted repeatedly at level 41. Wait until you can swim, and have your party comfortably in the 45-50 range, for a fair shot.

  • Level up: Aim for 45+. Lower than that, and his icicle attacks will flatten you.
  • Stock up: Bring plenty of Shield charges and healing items.
  • Gear up for Lightning: Equip abilities or gear that amplify Lightning damage-his main weakness.
  • Buff your defenses: Anything that reduces ice or physical damage is a huge help.

Early on, I wasted time trying fancy strategies before I realized simple survival and countering his big tells were the only way. Prepping my squad for defense made all the difference.

Understanding His Mechanics: Attack Patterns and Weaknesses

Mastering the Bishop means knowing his moves and when to use which shield or parry. Here’s a breakdown of what you’ll face—and how to punish him for it.

Screenshot from Clair Obscur: Expedition 33
  • Stalagmite Barrage: He sends three waves of icicles—one to a single target, then a group-wide blast. Here’s the trick: block the third one. The first two are less dangerous; the third will chunk your health if it lands. I lost count of times I missed the timing, so wait for the audio cue, then block with R1 just before impact.
  • Lance Strike: He leaps up, brandishes a lance, and charges it with ice. The first hit is telegraphed—parry or dodge that. Listen for a bright chime before the follow-up thrusts—R1 parries exactly as the sound ends. This took me a few fails to get, but once I caught the timing, his biggest threat was neutralized.
  • Glacial Beam: Raises his right arm, summons an orb, then fires a laser. Wait for the glowing noise, then block the split-second after. It’s easy to panic and block too early here—be patient.
  • Energy Wave (Phase 2): After half HP, he’ll send out giant energy waves that sweep the arena. Instead of a standard block, you’ll need a Gradient movement parry (gradient input or special parry button, depending on your setup). The timing is strict. Practice makes perfect—I flubbed these during my early runs and got deleted.

The Bishop’s real weak spot is the orb in his chest, but you can’t target it at the start. Once you break his shield (see below), hit it with your strongest Lightning skills for massive damage spikes.

My Step-by-Step Strategy: Shields, Parries, and Patience

What finally worked was playing defensively for the entire first phase. Here’s how I managed each map phase and the inputs that timed best for me:

Screenshot from Clair Obscur: Expedition 33
  • Start with two Shield buffs on your lead party members—it buys time to learn his patterns.
  • On Stalagmites, only parry the third (not all three)—saves resources and avoids drag on cooldowns.
  • The lance combo: after the first block, hold R1 and listen; don’t just react visually, since the chime is more consistent than the animation at high graphics settings.
  • When he triggers Glacial Beam, wait out the whole orb charge animation and listen for the high-pitched whine before blocking.
  • If you mess up, don’t rush your next turn. Heal up fast, then reset shields before trying to punish. The Bishop can two-shot you if you’re greedy.

I tried going all-out offense on my first attempts—big mistake. Even with Lightning gear, you’ll only make progress if you live long enough. That said, once his shield drops after a successful sequence of perfect parries or strong Lightning attacks, go ham on the chest orb: use high-damage combos or abilities that chain Lightning.

Quick Tips That Saved My Runs

  • Don’t underestimate timing: All his strongest attacks have distinct sound cues—mute audio at your peril.
  • Rotate your gradient skills: Save your most powerful ones for his second phase, since his energy waves punish sloppy plays hard.
  • Stay mobile: Don’t station your party in one spot—the bishop sometimes retargets or shift attacks depending on positioning. This tripped me up more than once.

Common Pitfalls and How I Fixed Them

  • Greedy punishes: I wasted hours rushing in after a block and getting wrecked by untelegraphed follow-ups. Only attack when his shield is clearly broken or after a long attack animation.
  • Ignoring audio cues: Many bishop attacks can be heavily foreshadowed by their sounds—not just visuals.
  • Panicking during energy waves: Instead of mashing block, focus on learning the rhythm (about 1.5 seconds after the cast, block with your gradient parry). Practice in earlier fights with similar patterns if needed.
  • Coming too early: If the bishop seems unkillable, just leave and come back after gaining five levels—it makes a massive difference.

Party Loadouts and Alternative Approaches

I used a fairly defensive party—tank up front, one bruiser with a Lightning focus, and a dedicated support for shields and healing. If you favor a more aggressive playstyle, try double up on Lightning damage dealers and have your healer queue up Shields right before big attacks instead of after.

If you’re a parry expert, you can potentially solo phase one just by timing your inputs perfectly—though I found a three-person setup to be far safer. Some players recommend going full offense with cooldown-reduction gear; in my case, these runs ended with wipes until I dialed things back to a patient block-heavy approach.
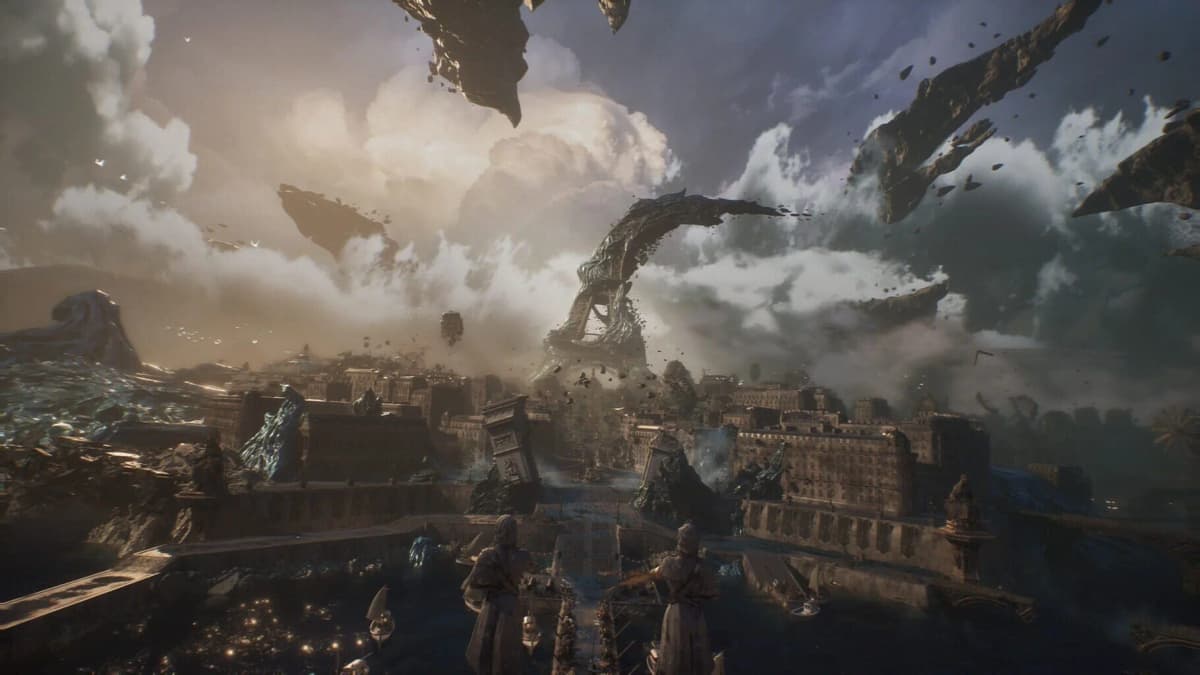
Screenshot from Clair Obscur: Expedition 33

Rewards: Why It’s Absolutely Worth It

Once he’s down, you’ll net 2 Chroma Resplendent Catalysts, 5 Lumicolor (great for late-game upgrades), and the Energizing Gradient Picto—which grants 1 extra Action Point per Gradient charge consumed. This picto alone made future boss runs much smoother for me and opened up more strategic options in tough fights.

Final Thoughts—and Why You Should Not Give Up

If you take anything away from my Glacial Bishop experience, it’s this: defense first, offense second. Don’t get greedy, learn his audio cues, and never be afraid to leave and level up before coming back. It took me a good 7-10 tries spread across two sessions to nail the routine—but once you’ve got it, the Bishop becomes one of the most satisfying optional bosses to topple in the game.

Good luck—and don’t forget to equip your new picto for the next fight!

G
GAIA
Published 9/3/2025Updated 1/3/2026
6 min read
Guide
🎮
🚀

Want to Level Up Your Gaming?

Get access to exclusive strategies, hidden tips, and pro-level insights that we don't share publicly.

Exclusive Bonus Content:

Ultimate Guide Strategy Guide + Weekly Pro Tips

Instant deliveryNo spam, unsubscribe anytime