
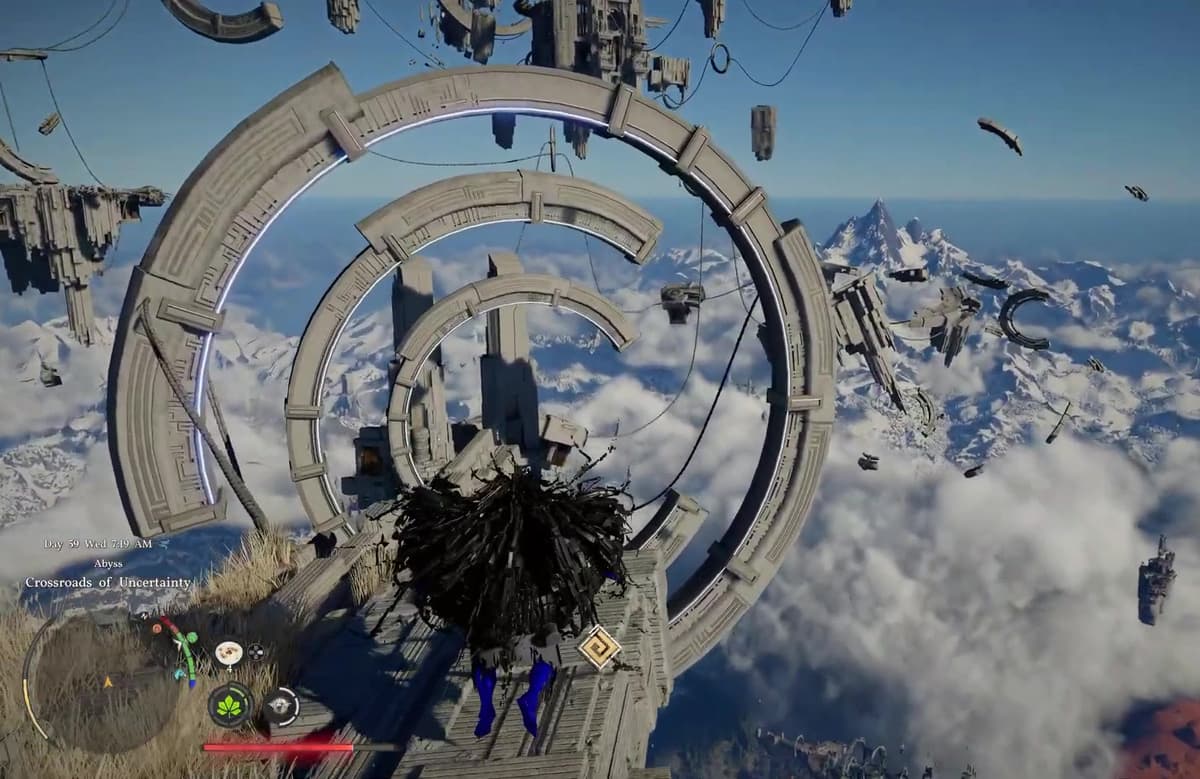
Crossroads of Uncertainty in Crimson Desert trips people up because they treat it as a standing puzzle when it is really a timed aerial run. There is no riddle to solve here. You reach it after another Abyss, glide a chain of timed rings using the floating fans for lift, then Force Palm the switch on the final platform to power the island and claim the reward. Fall off the course or let the rings time out and you start over.
Table of Contents (11)
The short version
- You can only get here after clearing the Path of Serpents Abyss first – it sits in the same Path of Providence cluster. Crossroads is not a separate sky island you fly straight to.
- Cross the moving platforms at the entrance and take the teleporter to the Abyss Nexus, then aim Axiom Force at the circular switch by the Abyss Gate to launch the glide.
- The course is a timed glide through a chain of rings, riding the fans for height. Rings deactivate if you dawdle, and there are blue laser beams strung between ring sets to avoid.
- At the end, strike the final platform’s switch with Force Palm to restore the island. An Abyss Artifact spawns at the altar and hands you a free Skill Point.
How to actually reach Crossroads of Uncertainty
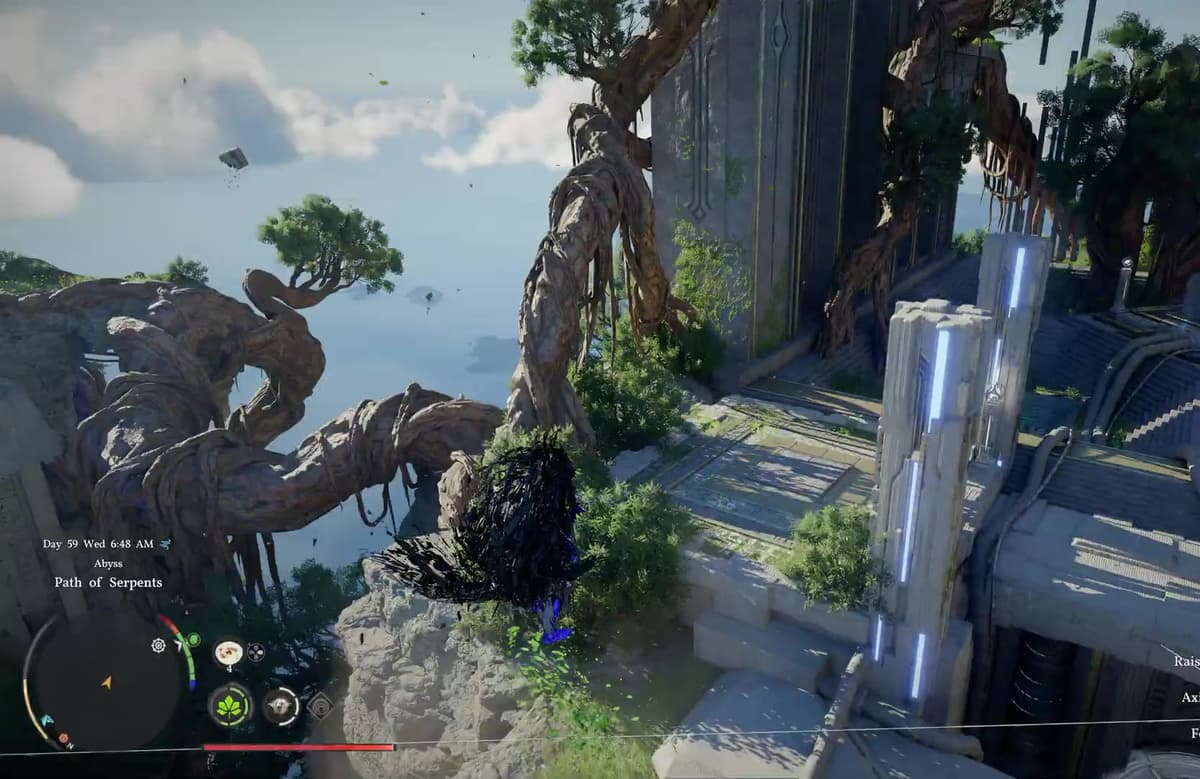
This is the step most write-ups get wrong. Crossroads of Uncertainty is gated behind the Path of Serpents Abyss – you have to finish that one before the route opens up. It belongs to the same Path of Providence cluster, so if you are circling random floating platforms hunting for a separate door, you are in the wrong place entirely.
Once Path of Serpents is done, head for the entrance. You cross a short run of moving platforms and a gap that teleports you to the Abyss Nexus – that hub is also where the game drops you on every reset, so get used to the sight of it.
- Clear the Path of Serpents Abyss first. This is the hard requirement.
- Cross the moving platforms at the entrance and take the teleporter through to the Abyss Nexus.
- Aim Axiom Force at the circular switch on the ground by the Abyss Gate to fire the first fan and start the glide.
- Line up your camera before you launch – your glide follows wherever you are looking.
If nothing activates, you almost certainly hit the wrong object – Axiom Force only triggers off the circular switch at the gate, not the surrounding scenery.
Clearing the timed ring sequence
Inside, Crossroads is a glide course, not a logic test. You launch into a chain of glowing rings while airborne, and the fans dotted along the route are what give you the height to reach the next one. Glide to the first fan, let it boost you up to the ring and platform, then chain fan to fan through the rest of the course.
The timer is the part worth internalising. The rings deactivate if you take too long – you can watch the yellow charge shrink on each ring as it counts down. Let one go dark and you are warped back to the Abyss Nexus to restart that stretch. That is why “careful” runs fail more often than fast ones – hesitation burns the clock.
The harsher failure is falling. Drop off the course and you plummet to the world below and restart the entire island from the beginning, not just the section you were on. Watch for the blue laser beams strung between ring sets as well – clip one and the run is over.
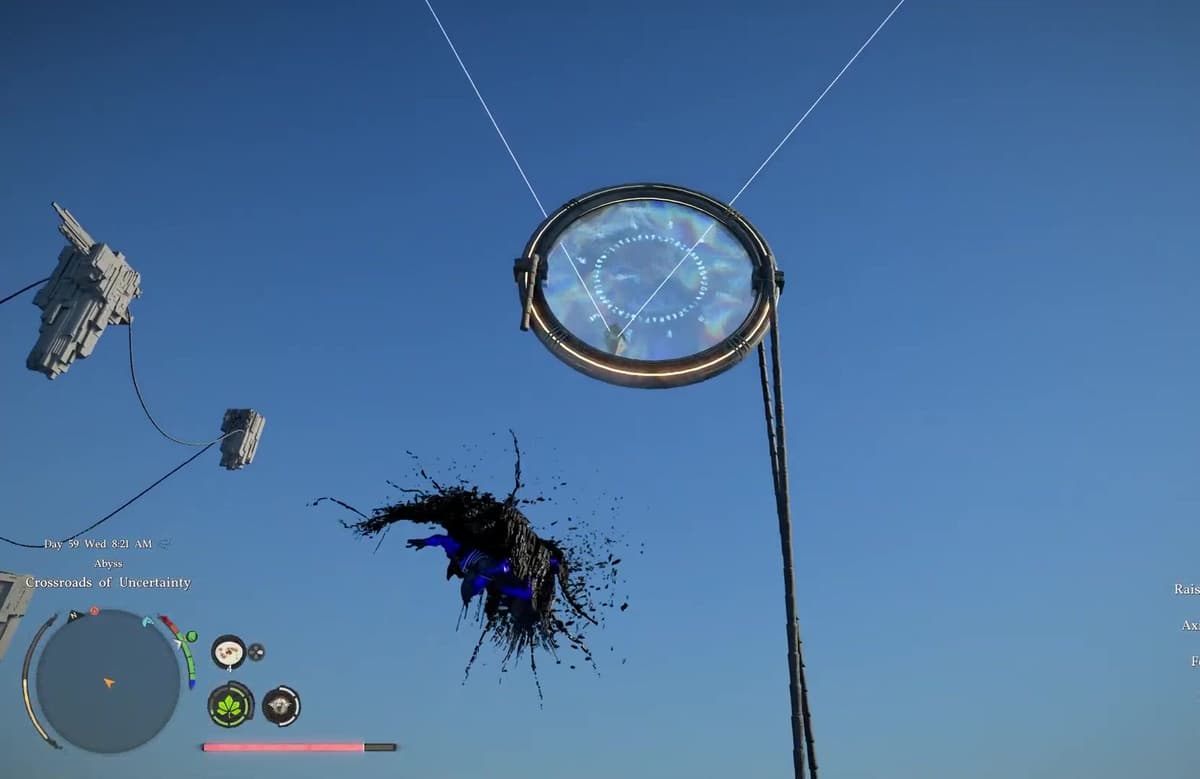
Fly center-mass through each ring rather than clipping the edges for a “close enough” pass. Edge passes force a shallow angle into the next ring and cost you more time than they save. And when a fan or updraft catches you between rings, let it carry you before you start steering – fighting the lift too early flattens your arc and leaves you short, which on a timer usually means a reset. Use the air first, steer second.
Common mistakes that cause most resets
- Looking for the entrance before finishing Path of Serpents. Crossroads is gated behind it – there is no direct route in.
- Hitting the wrong object with Axiom Force. The glide only starts from the circular switch by the Abyss Gate.
- Treating the glide as untimed. The rings deactivate on a clock; hovering and over-correcting is what runs it out.
- Falling off the course. A fall restarts the whole island, so a clean, fall-free run matters more than raw speed.
- Forgetting Force Palm at the end. The rings only get you there – the island does not complete until you strike the final switch.
Force Palm the final platform for the reward
Reaching the last platform is not the finish line. Hit the large circular switch there with a Force Palm strike to power the island back up – this is the step the whole ring run is building toward, and skipping it is why some players think the puzzle is “bugged” when nothing happens. Once the island lights up, an Abyss Artifact spawns at the altar in front of you; grab it for a free Skill Point.
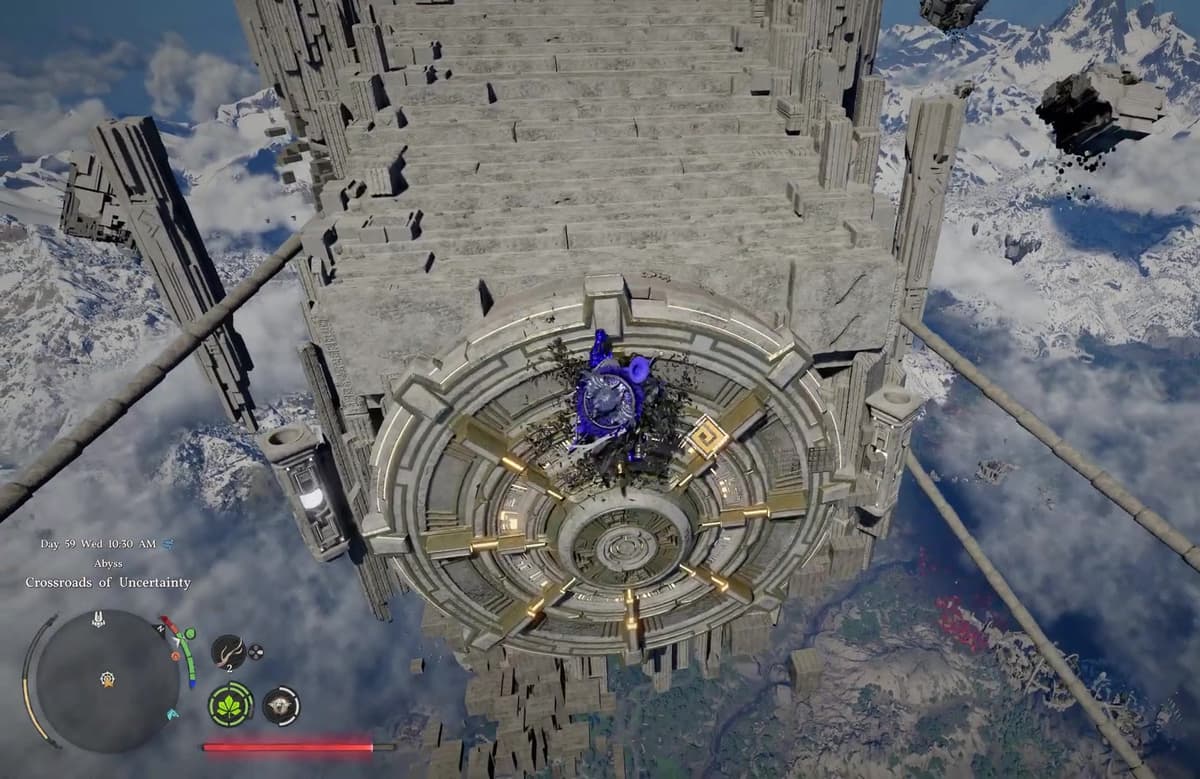
That payoff makes Crossroads a real mobility check, not a throwaway gimmick. The lesson carries to the other Abyss routes too: when the game stacks rings, fans, and a switch in front of you, the answer is to start the glide with Axiom Force, ride the fans, and close with Force Palm – not to hunt for a hidden combat trigger or a logic puzzle.
If your runs keep stalling, the chain is short enough to memorise: finish Path of Serpents, teleport to the Abyss Nexus, Axiom Force the circular switch, ride the timed rings clean, then Force Palm the final platform. Axiom Force does the heavy lifting on the way in – if you are still getting the hang of it, our Axiom Force Abyss guide covers how the ability works across every challenge. For more of the same puzzle type, the Tomb of Perdition walkthrough uses the same build-and-traverse logic.
FinalBoss // Gear
Level up your setup
01Top-rated gaming headsetson Amazon→02High-refresh gaming monitorson Amazon→03Gaming chairson Amazon→04Discounted game keyson Kinguin→Affiliate links · As an Amazon Associate, FinalBoss earns from qualifying purchases.
Want to Level Up Your Gaming?
Get access to exclusive strategies, hidden tips, and pro-level insights that we don't share publicly.
Ultimate Guide Strategy Guide + Weekly Pro Tips